1
2
3
4
5
6
7
8
9
10
11
Celebrating our Monterey Bay
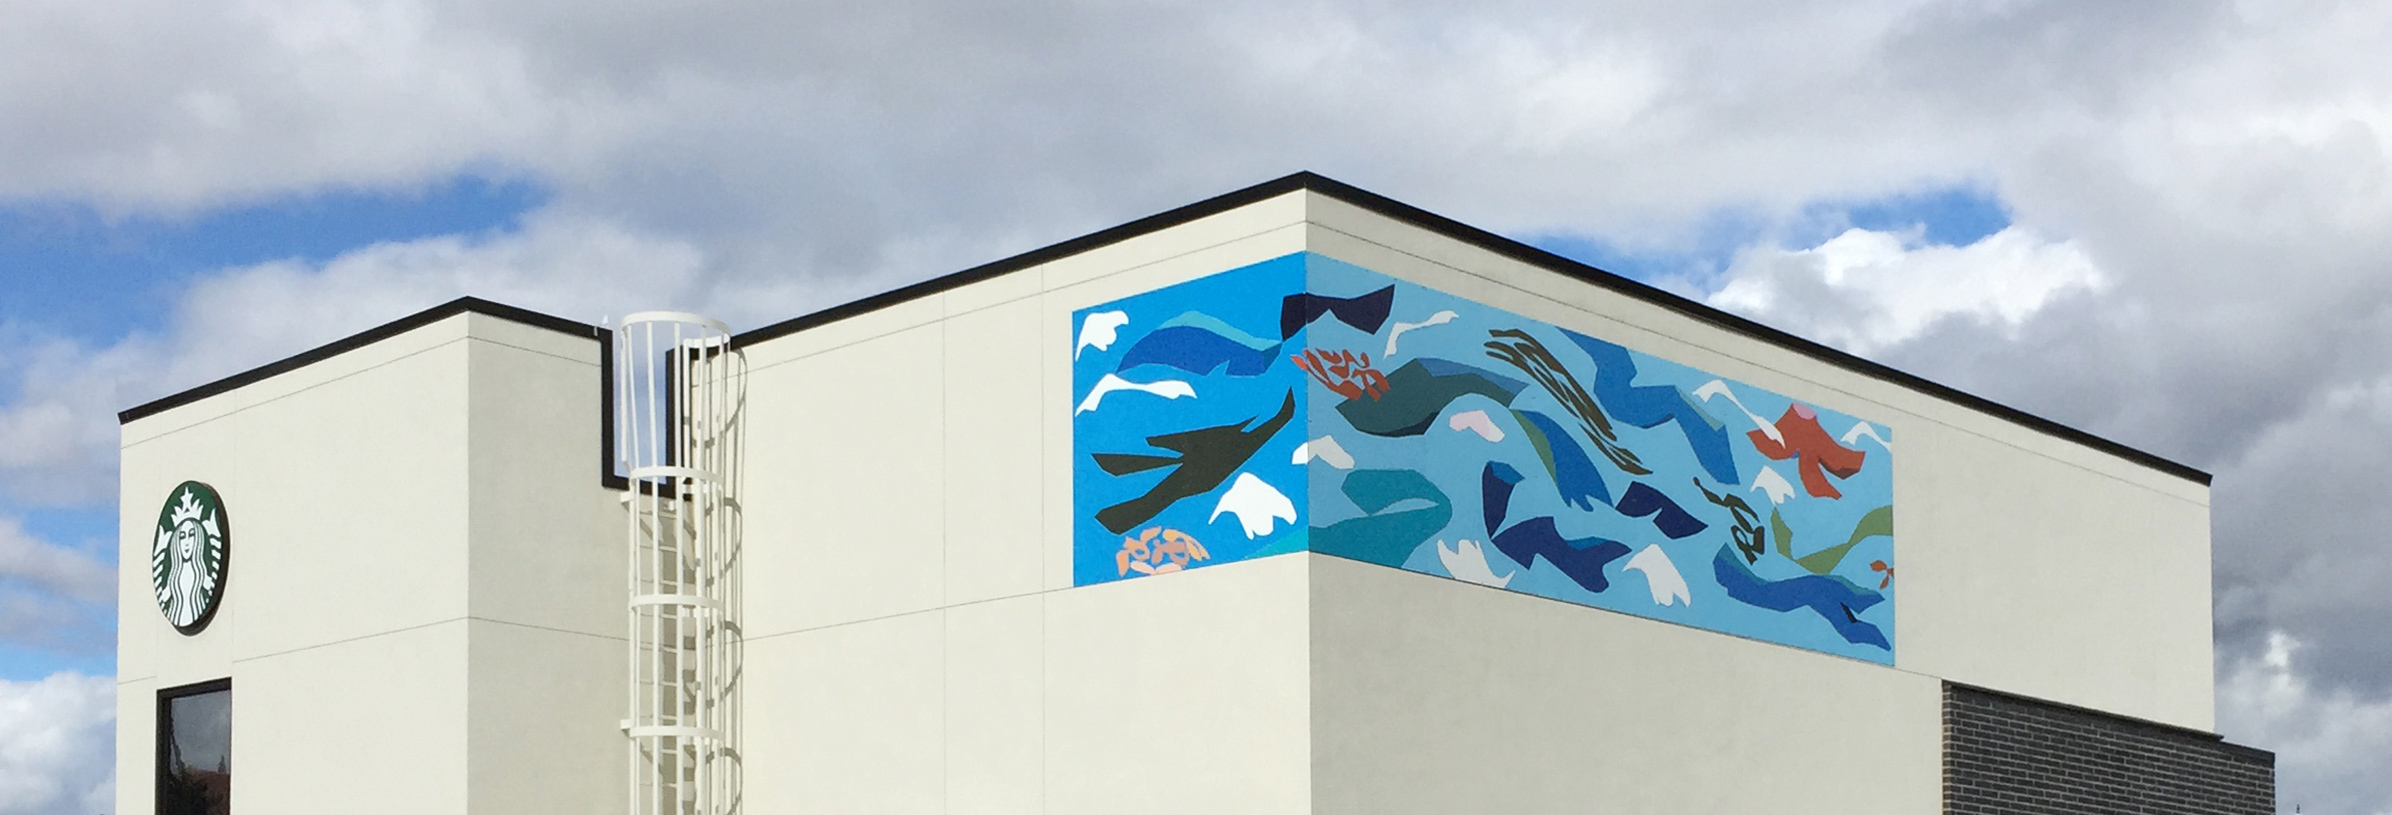
View from the southwest corner of the building
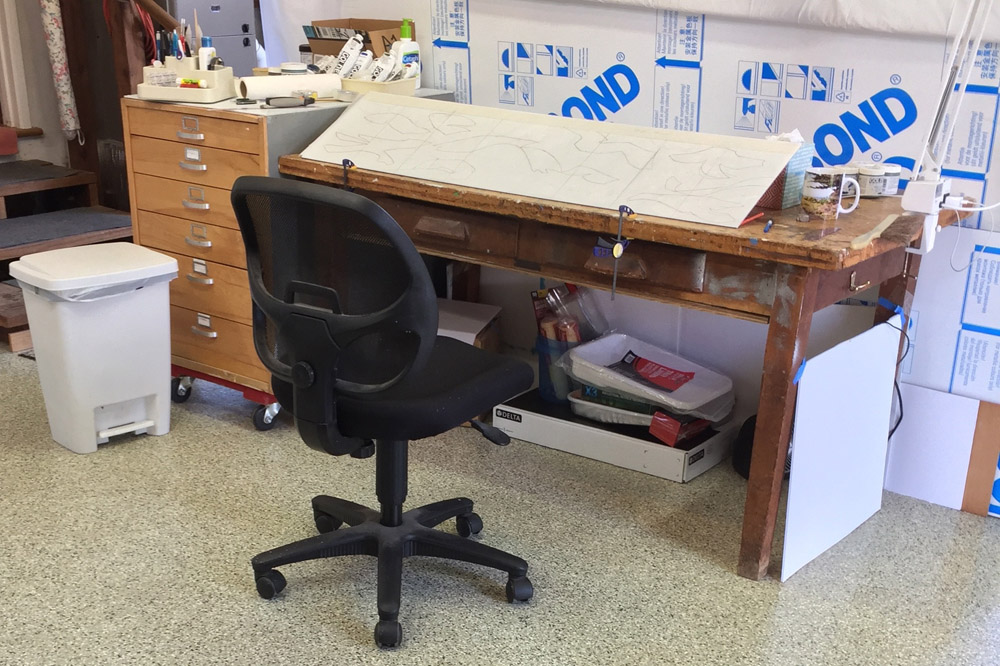
Initial stage: designing and gathering materials
Design sketch for the 32ft. long mural, with the aluminum composite panels resting against my table, waiting to be sanded and primed.
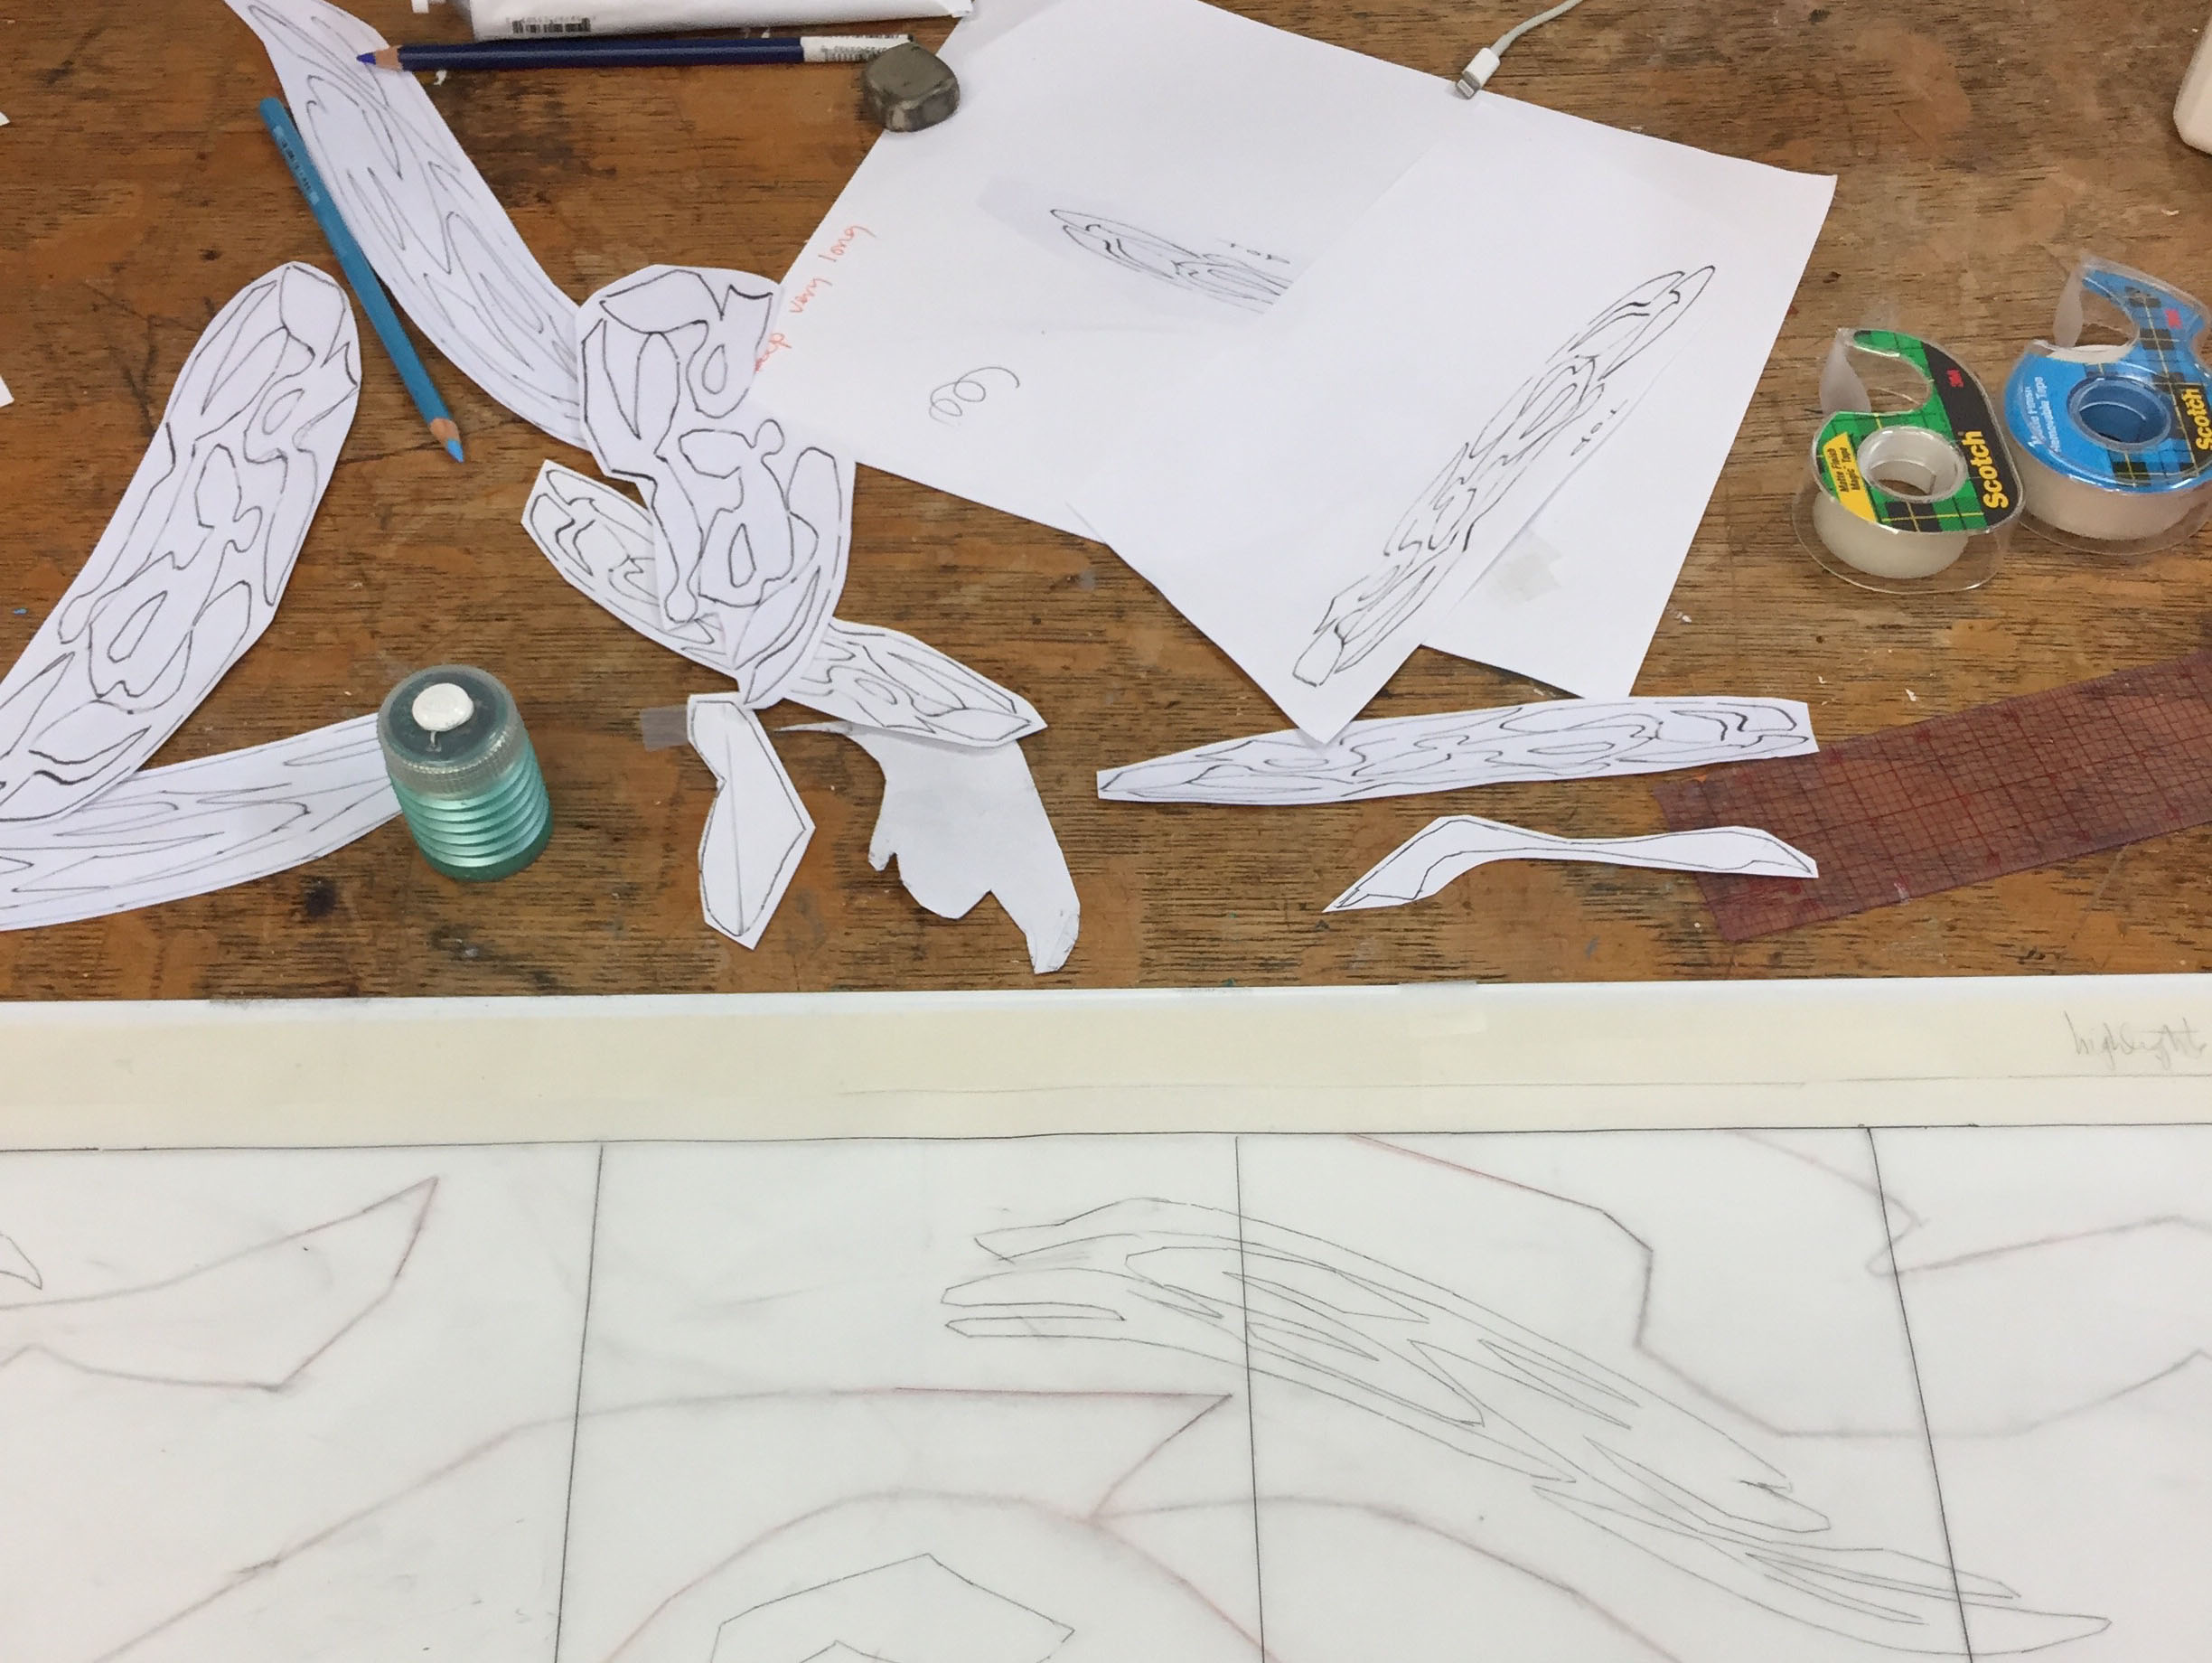
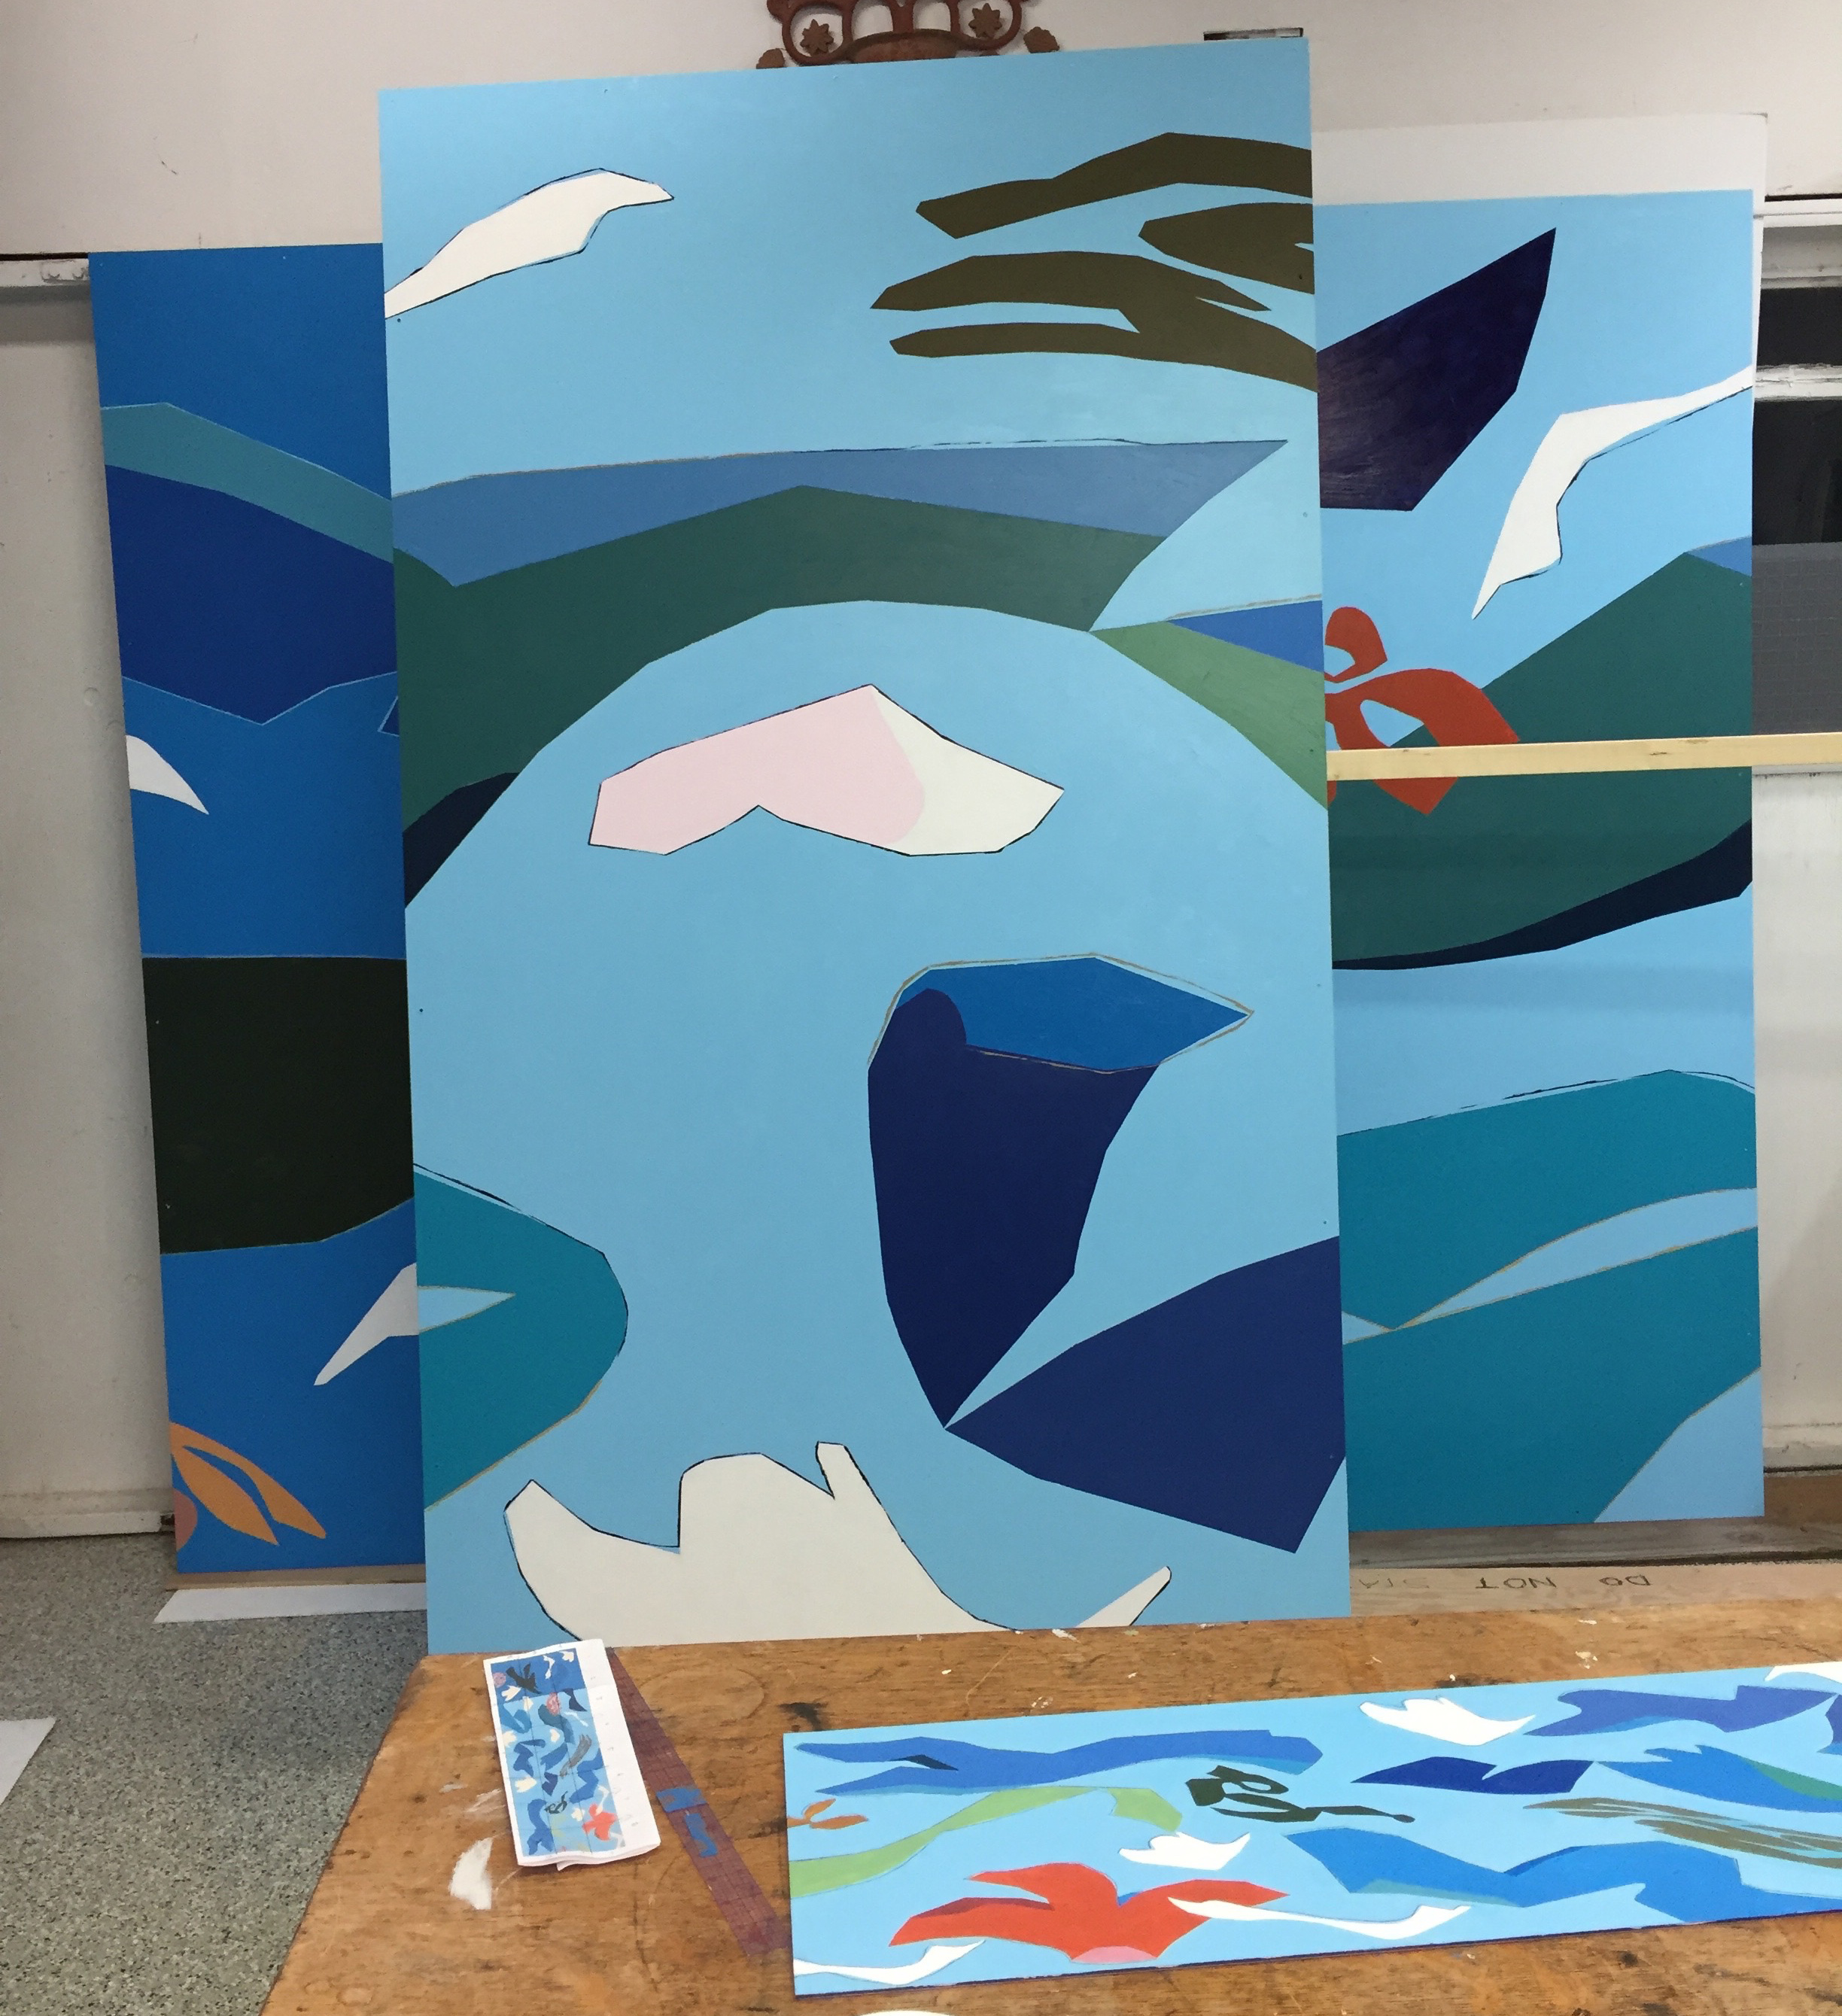
Designing by collage
I scanned my final shapes into a computer image program, printing various sizes and morphs. Then, I printed and cut out the shapes, so I could move them around to come up with a rhythmic flow resembling the movement of ocean water.
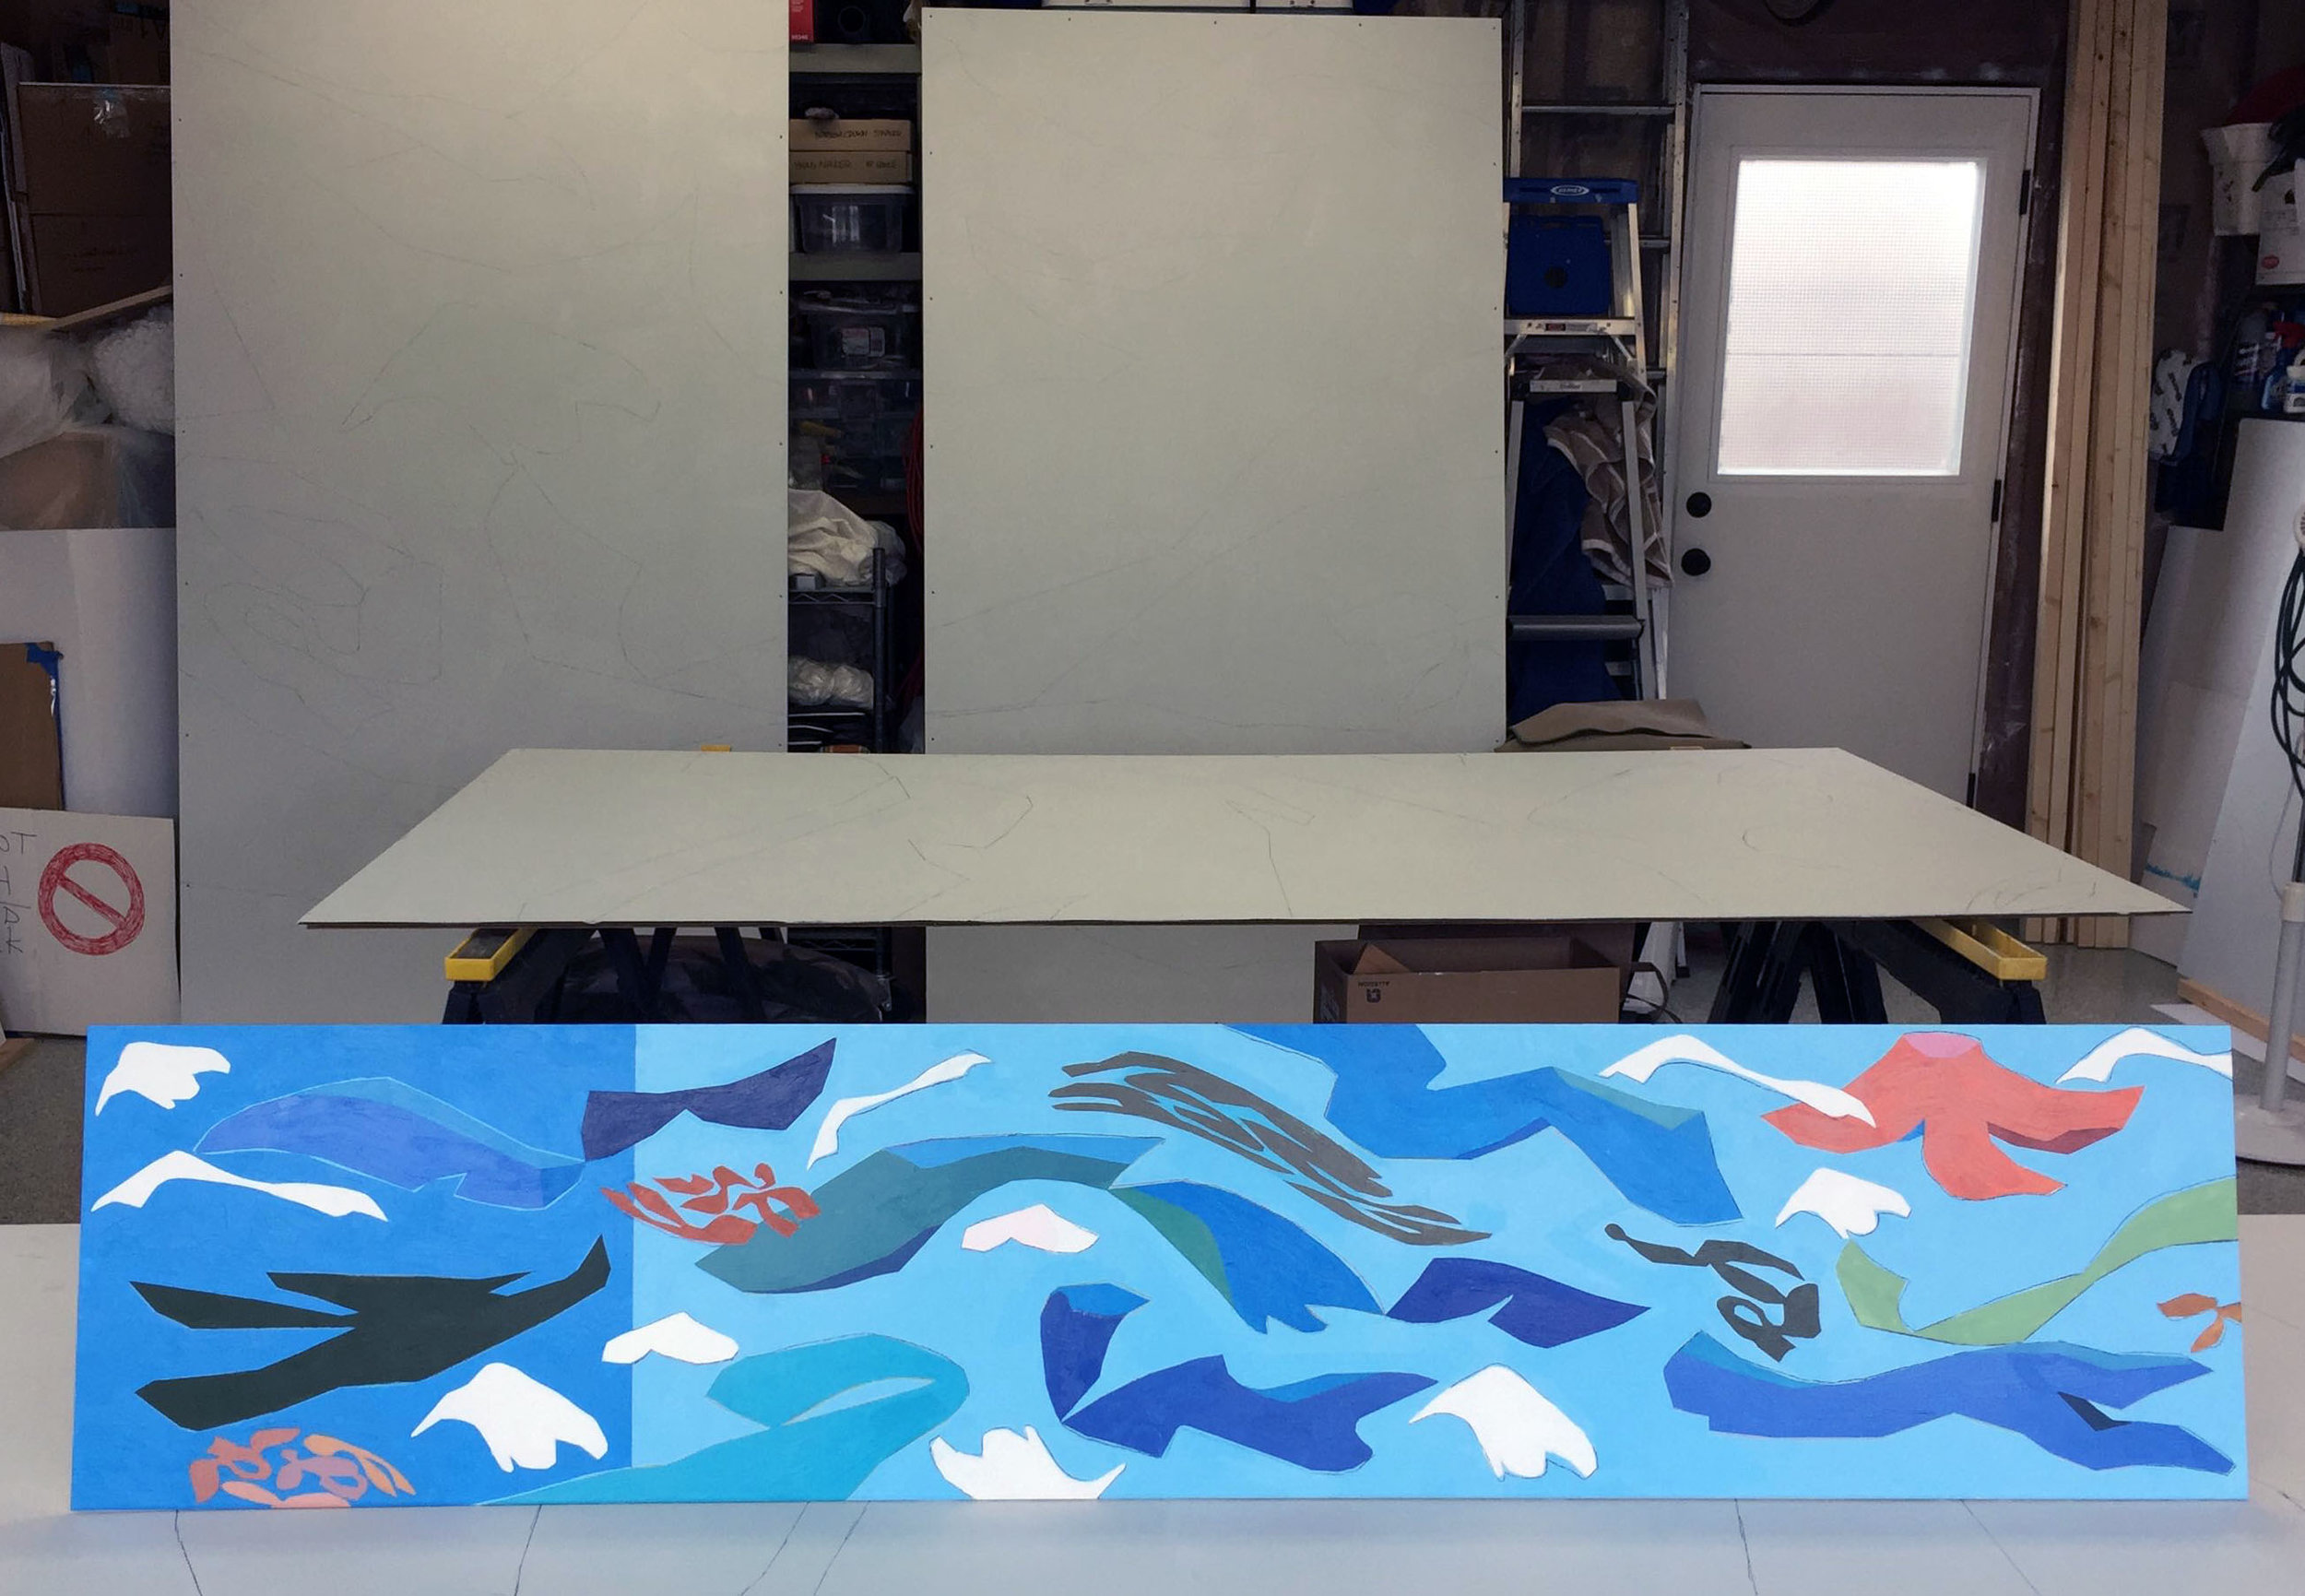
The finished mock-up for the corner mural (a few primed panels in the background)
My finished mock-up. The darker section on the left would be the part of the mural mounted on the west wall of the building. Then, the mural would wrap sharply at the corner to continue on to the south wall for another 24 ft.
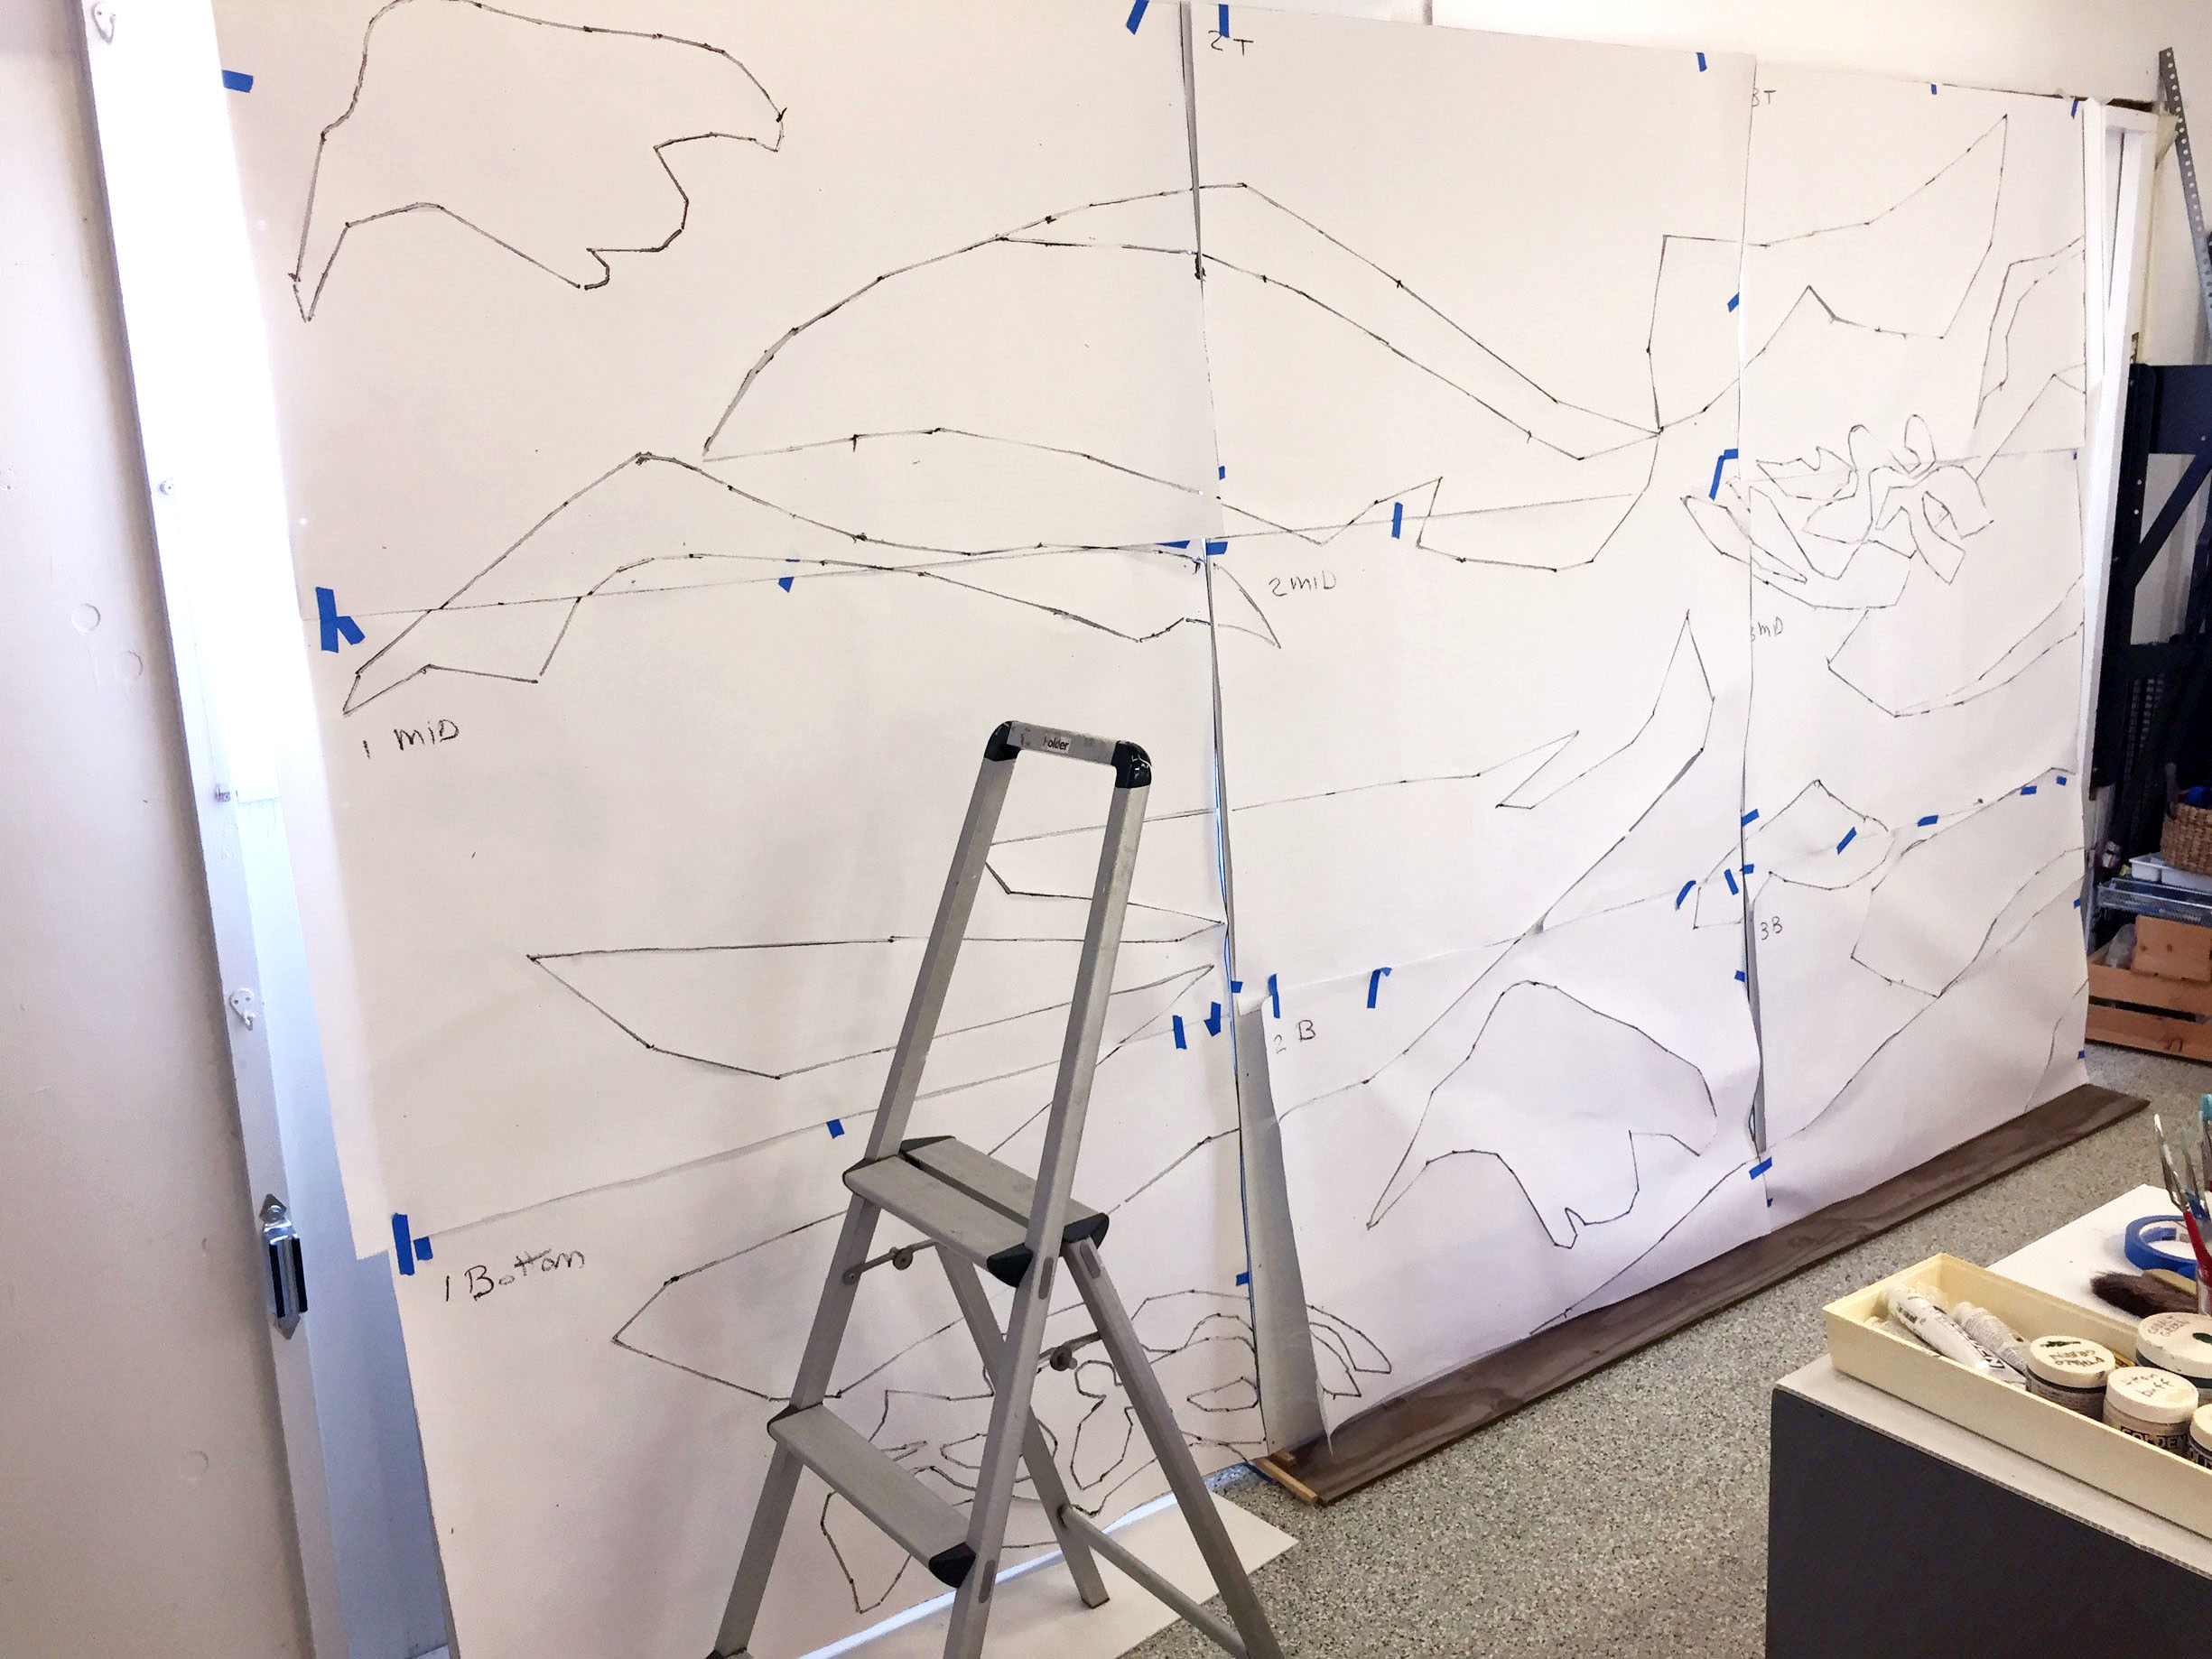
Transferring my small drawing onto the panels
To transfer my design from the mock-up to the eight 7ft. x 4ft. panels, I traced my mock-up as a line drawing and used that drawing to order blueprints enlarged at 800%. Then, I transferred the blueprints by pencil onto the panels.
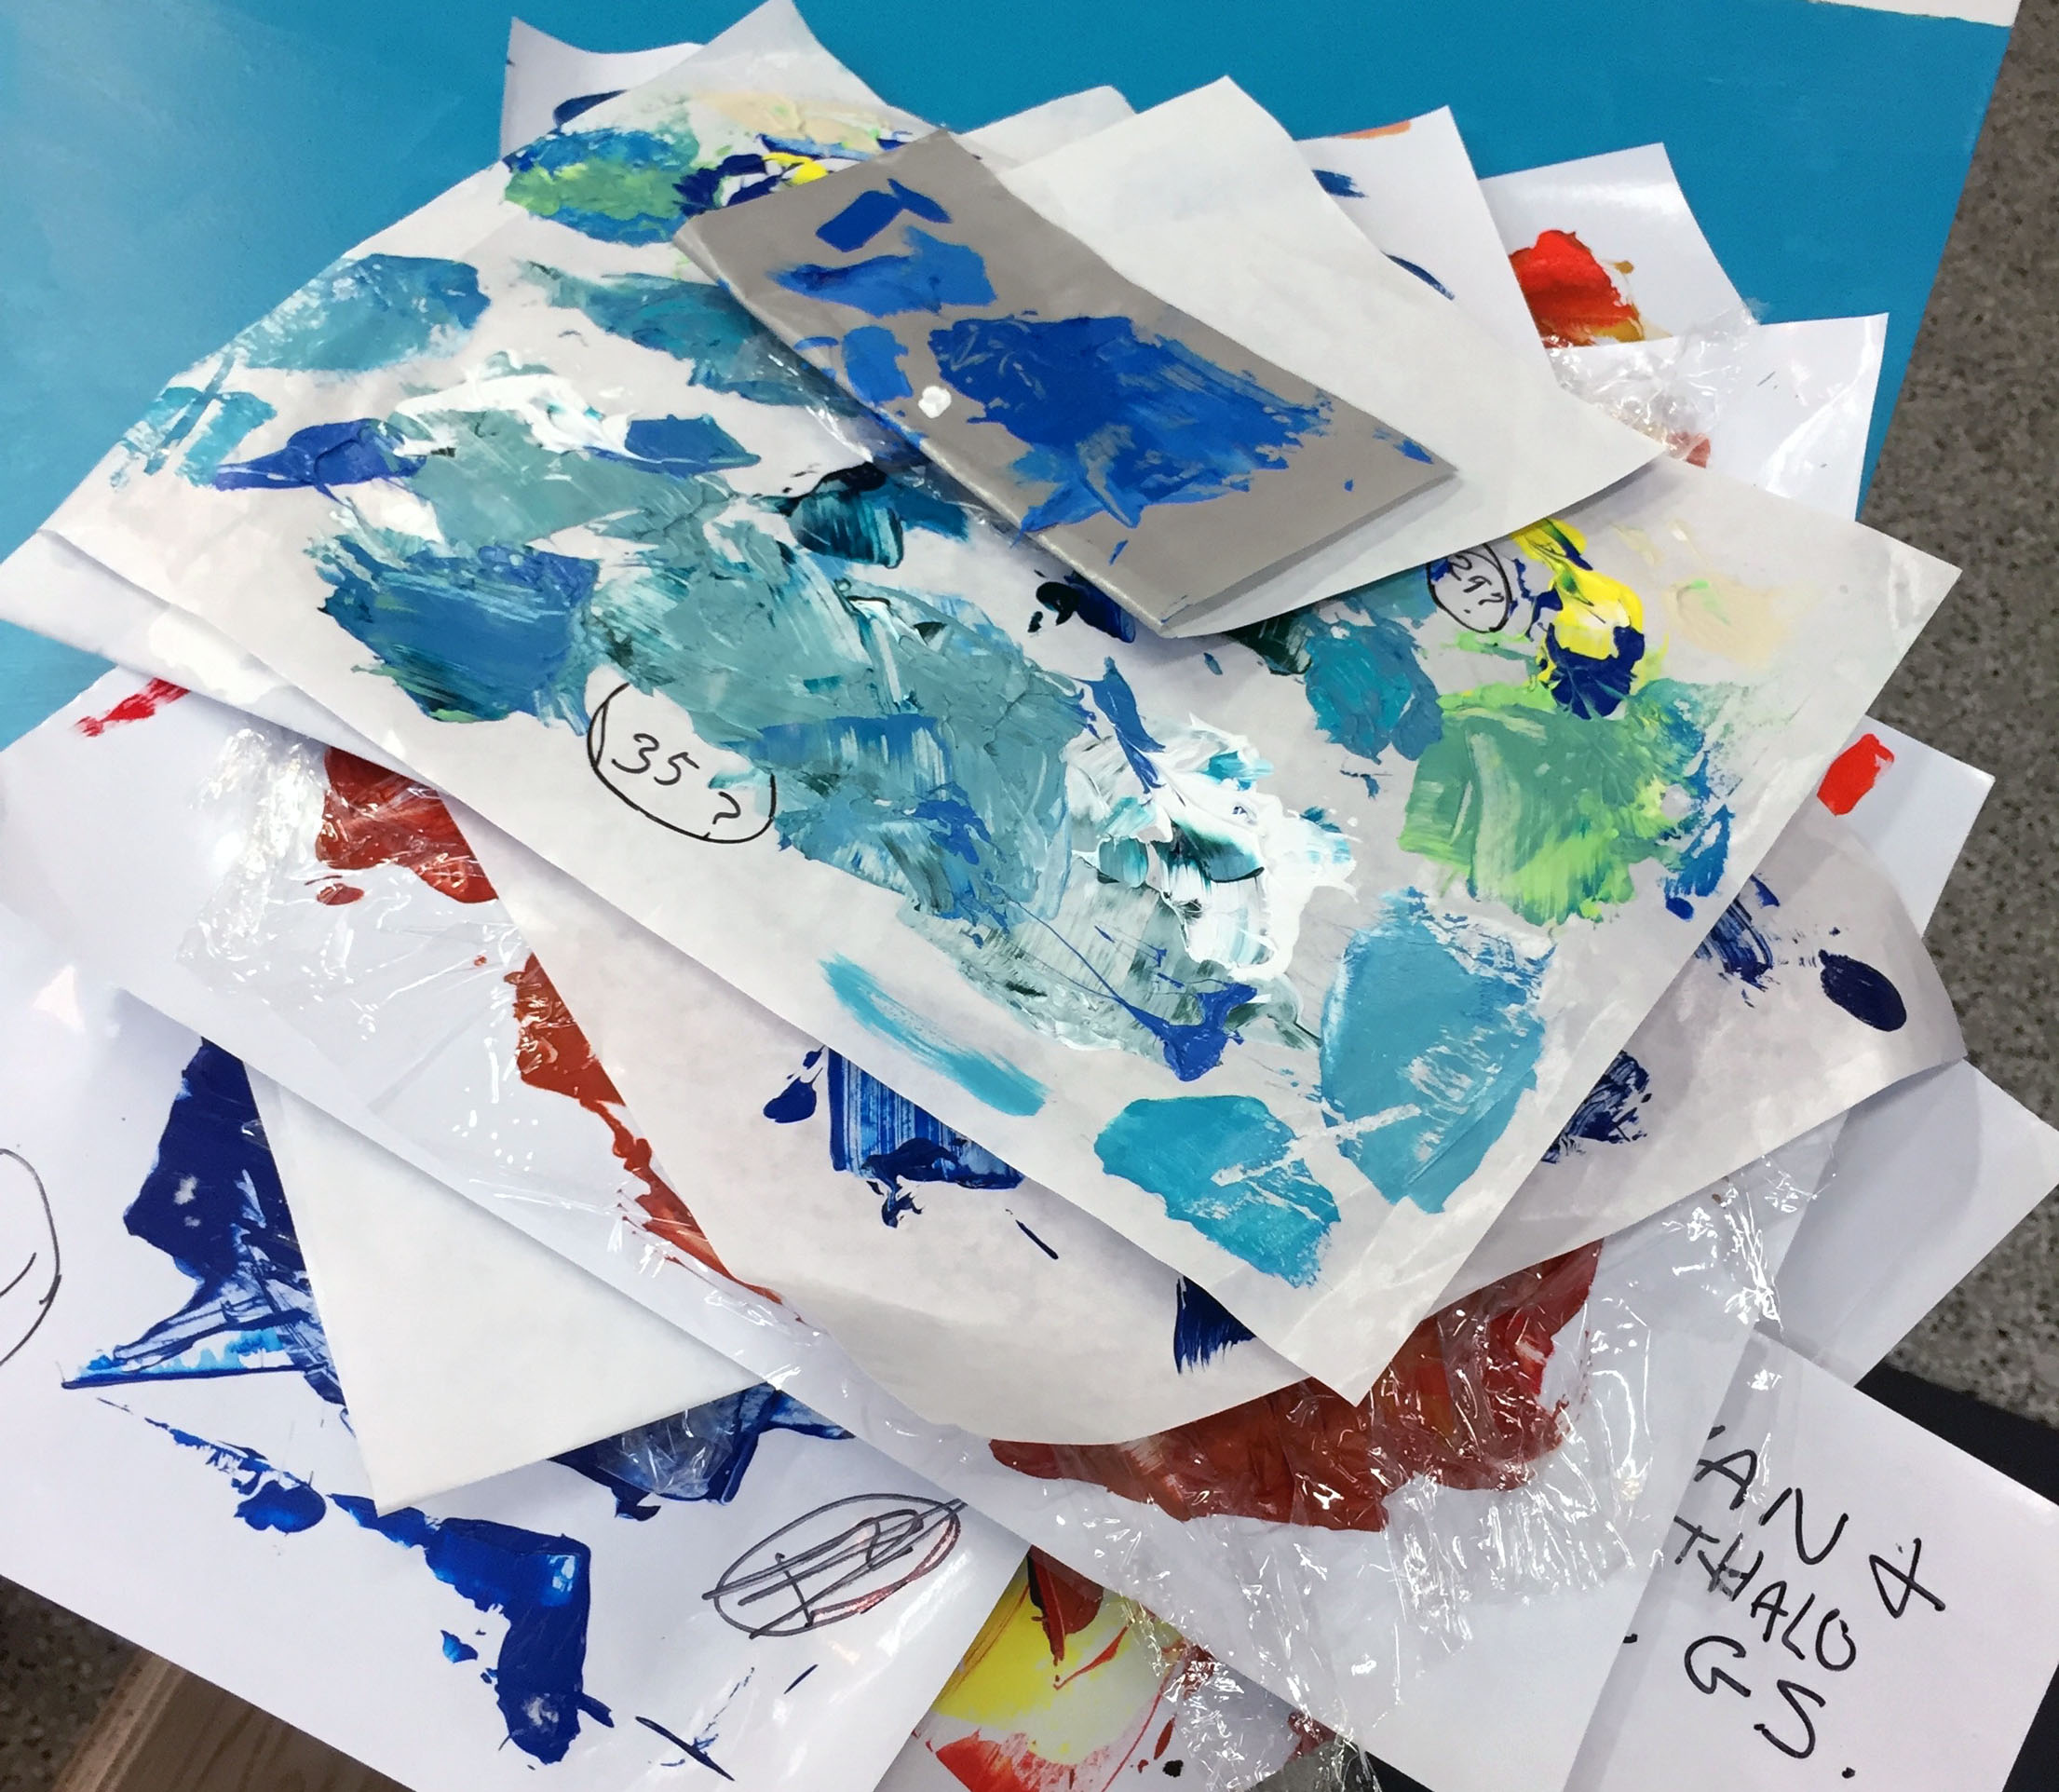
Keeping notes
Keeping notes on how I arrived at each color. Also, I stored extra quantities of the final 38 colors in jars labeled with a number, so I could find the right one for touchups, if needed.
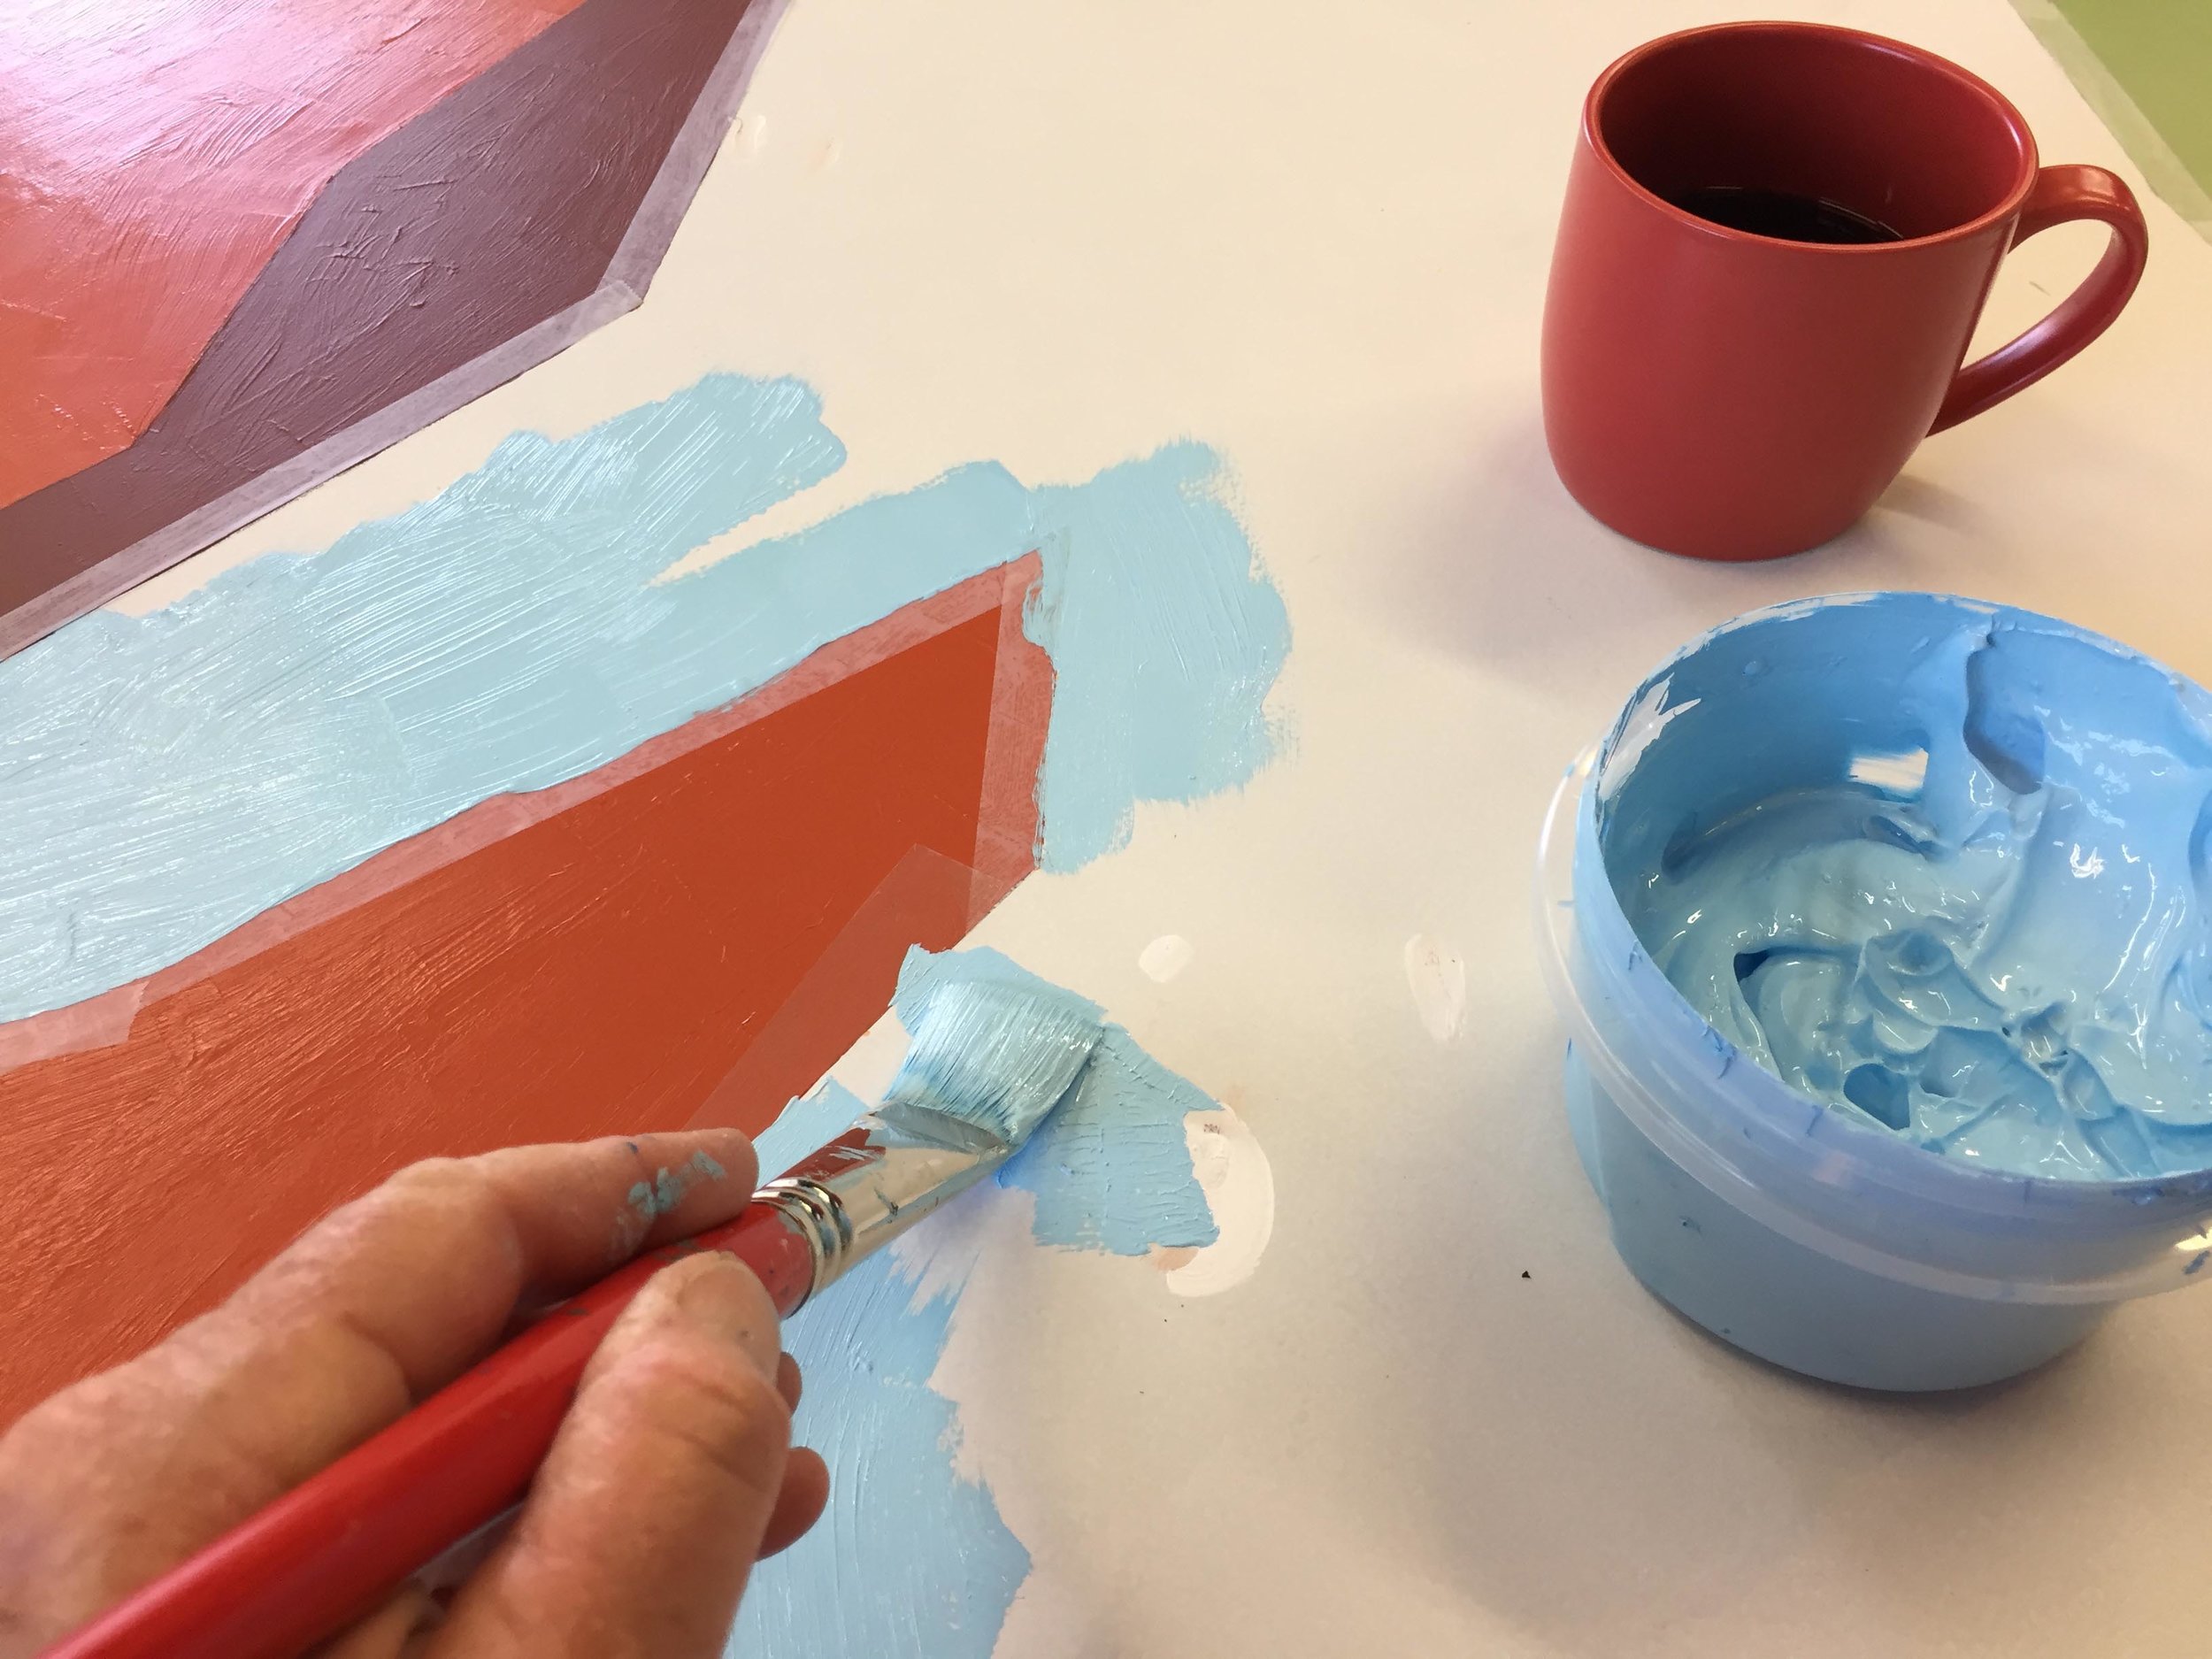
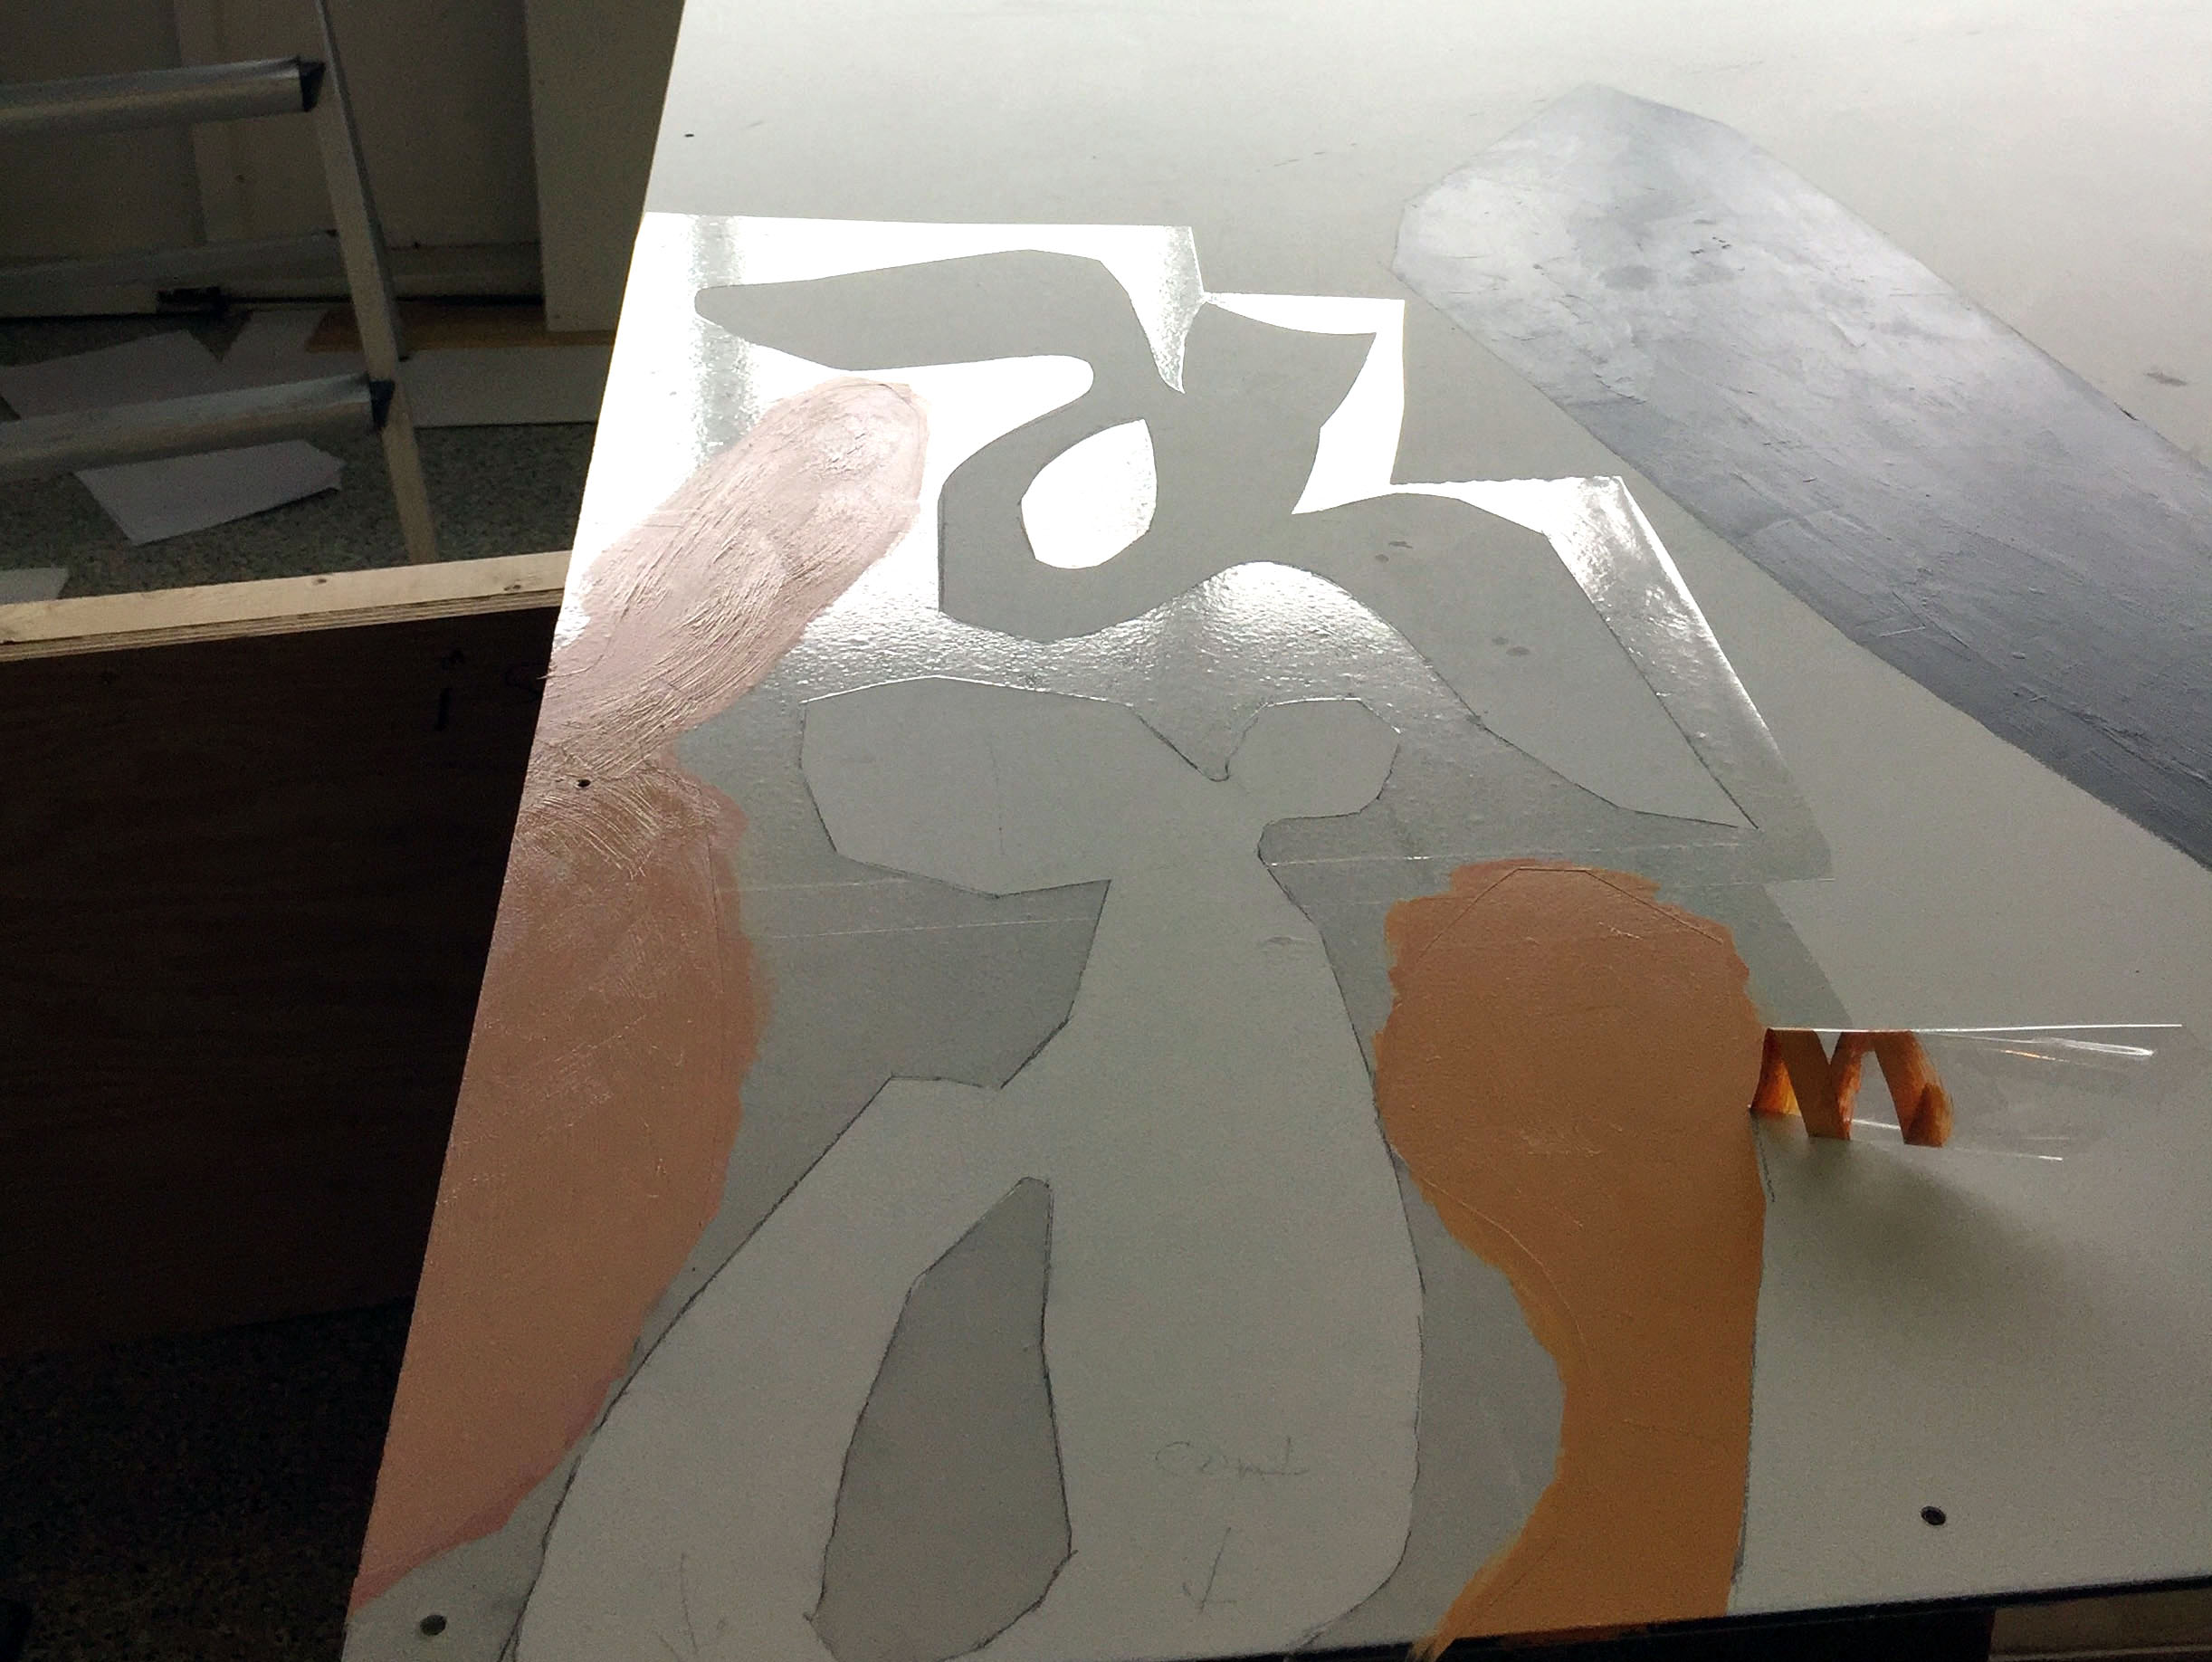
A close-up of my process
Masking off with Friskit and tape using an X-Acto blade gave me the crisp edges I wanted.
The cycle: mix paint, cut mask, paint, peel mask off, repeat...
The shiny part, here, is the masking material. You can see where I've started to peel off the mask after painting against it.
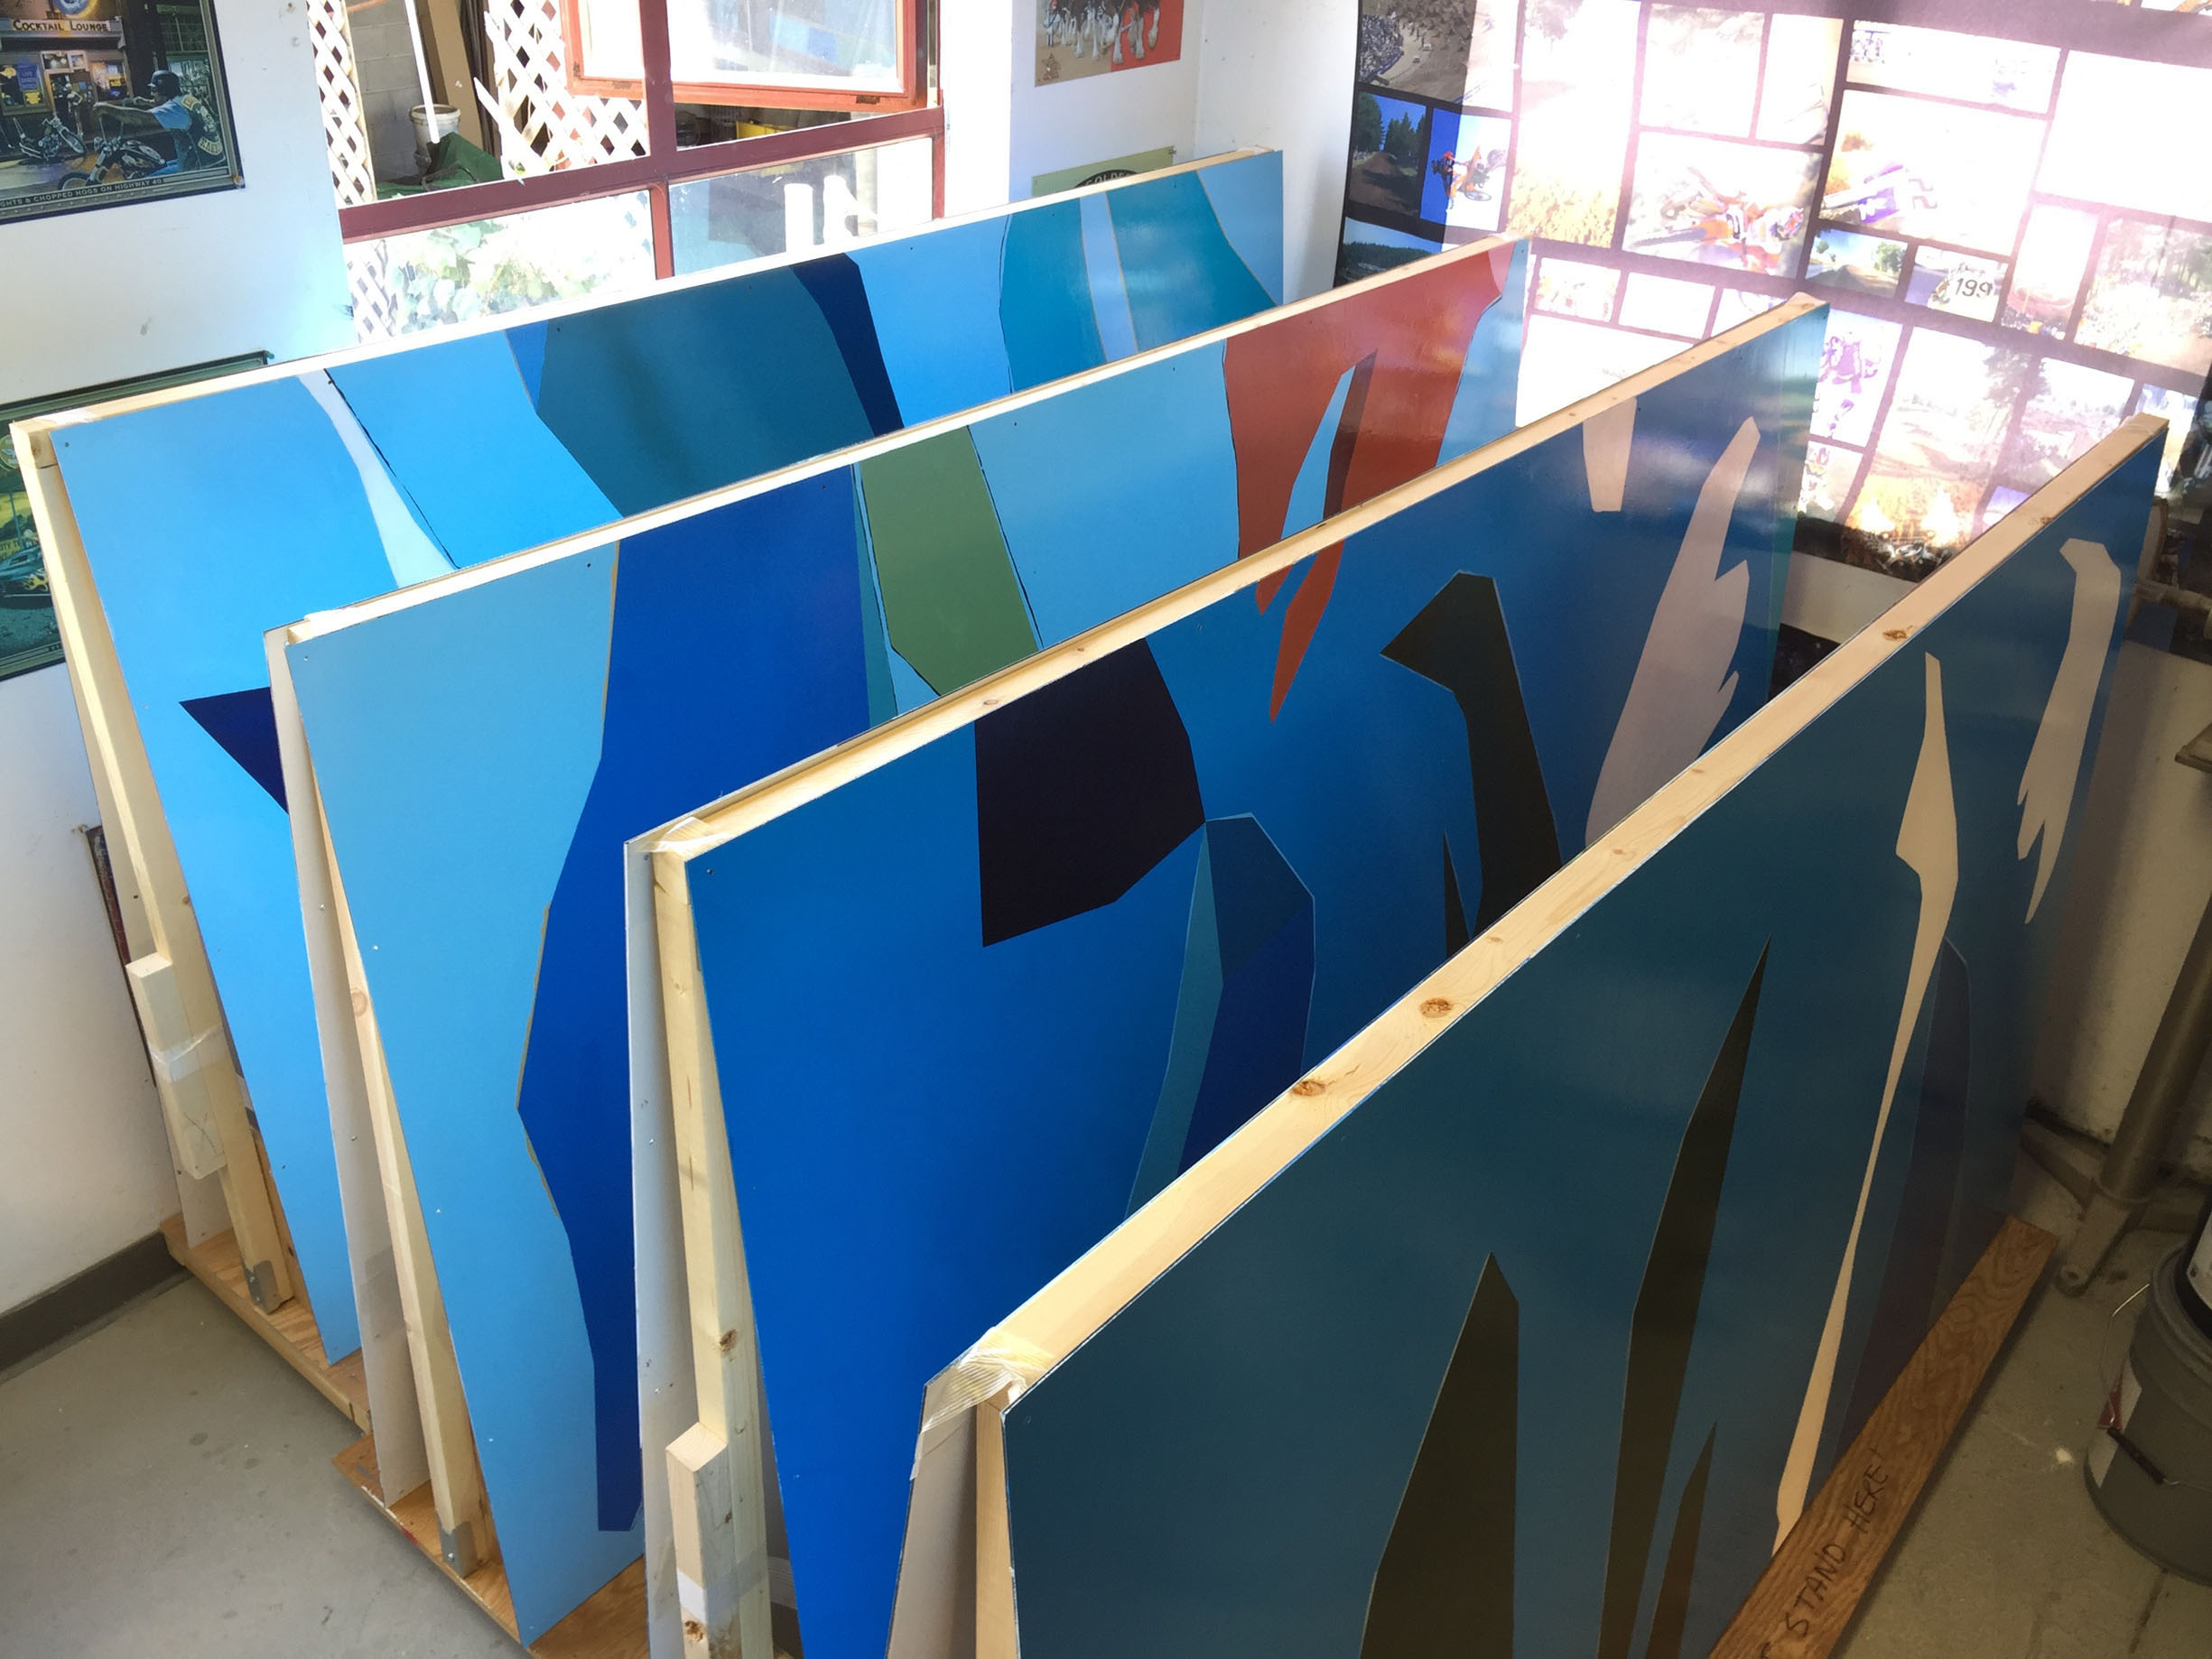
Before the panels leave the studio for varnishing
As a final check, we moved each panel around my 20ft. x 23ft. studio in turn, to catch any places where the design didn't match exactly panel-to-panel.
Mural panels resting between coats of varnish
We made rolling easels to truck the panels around. Here, they're at a local finisher for varnishing. We brought them back to cure, then over to Starbucks for installation.
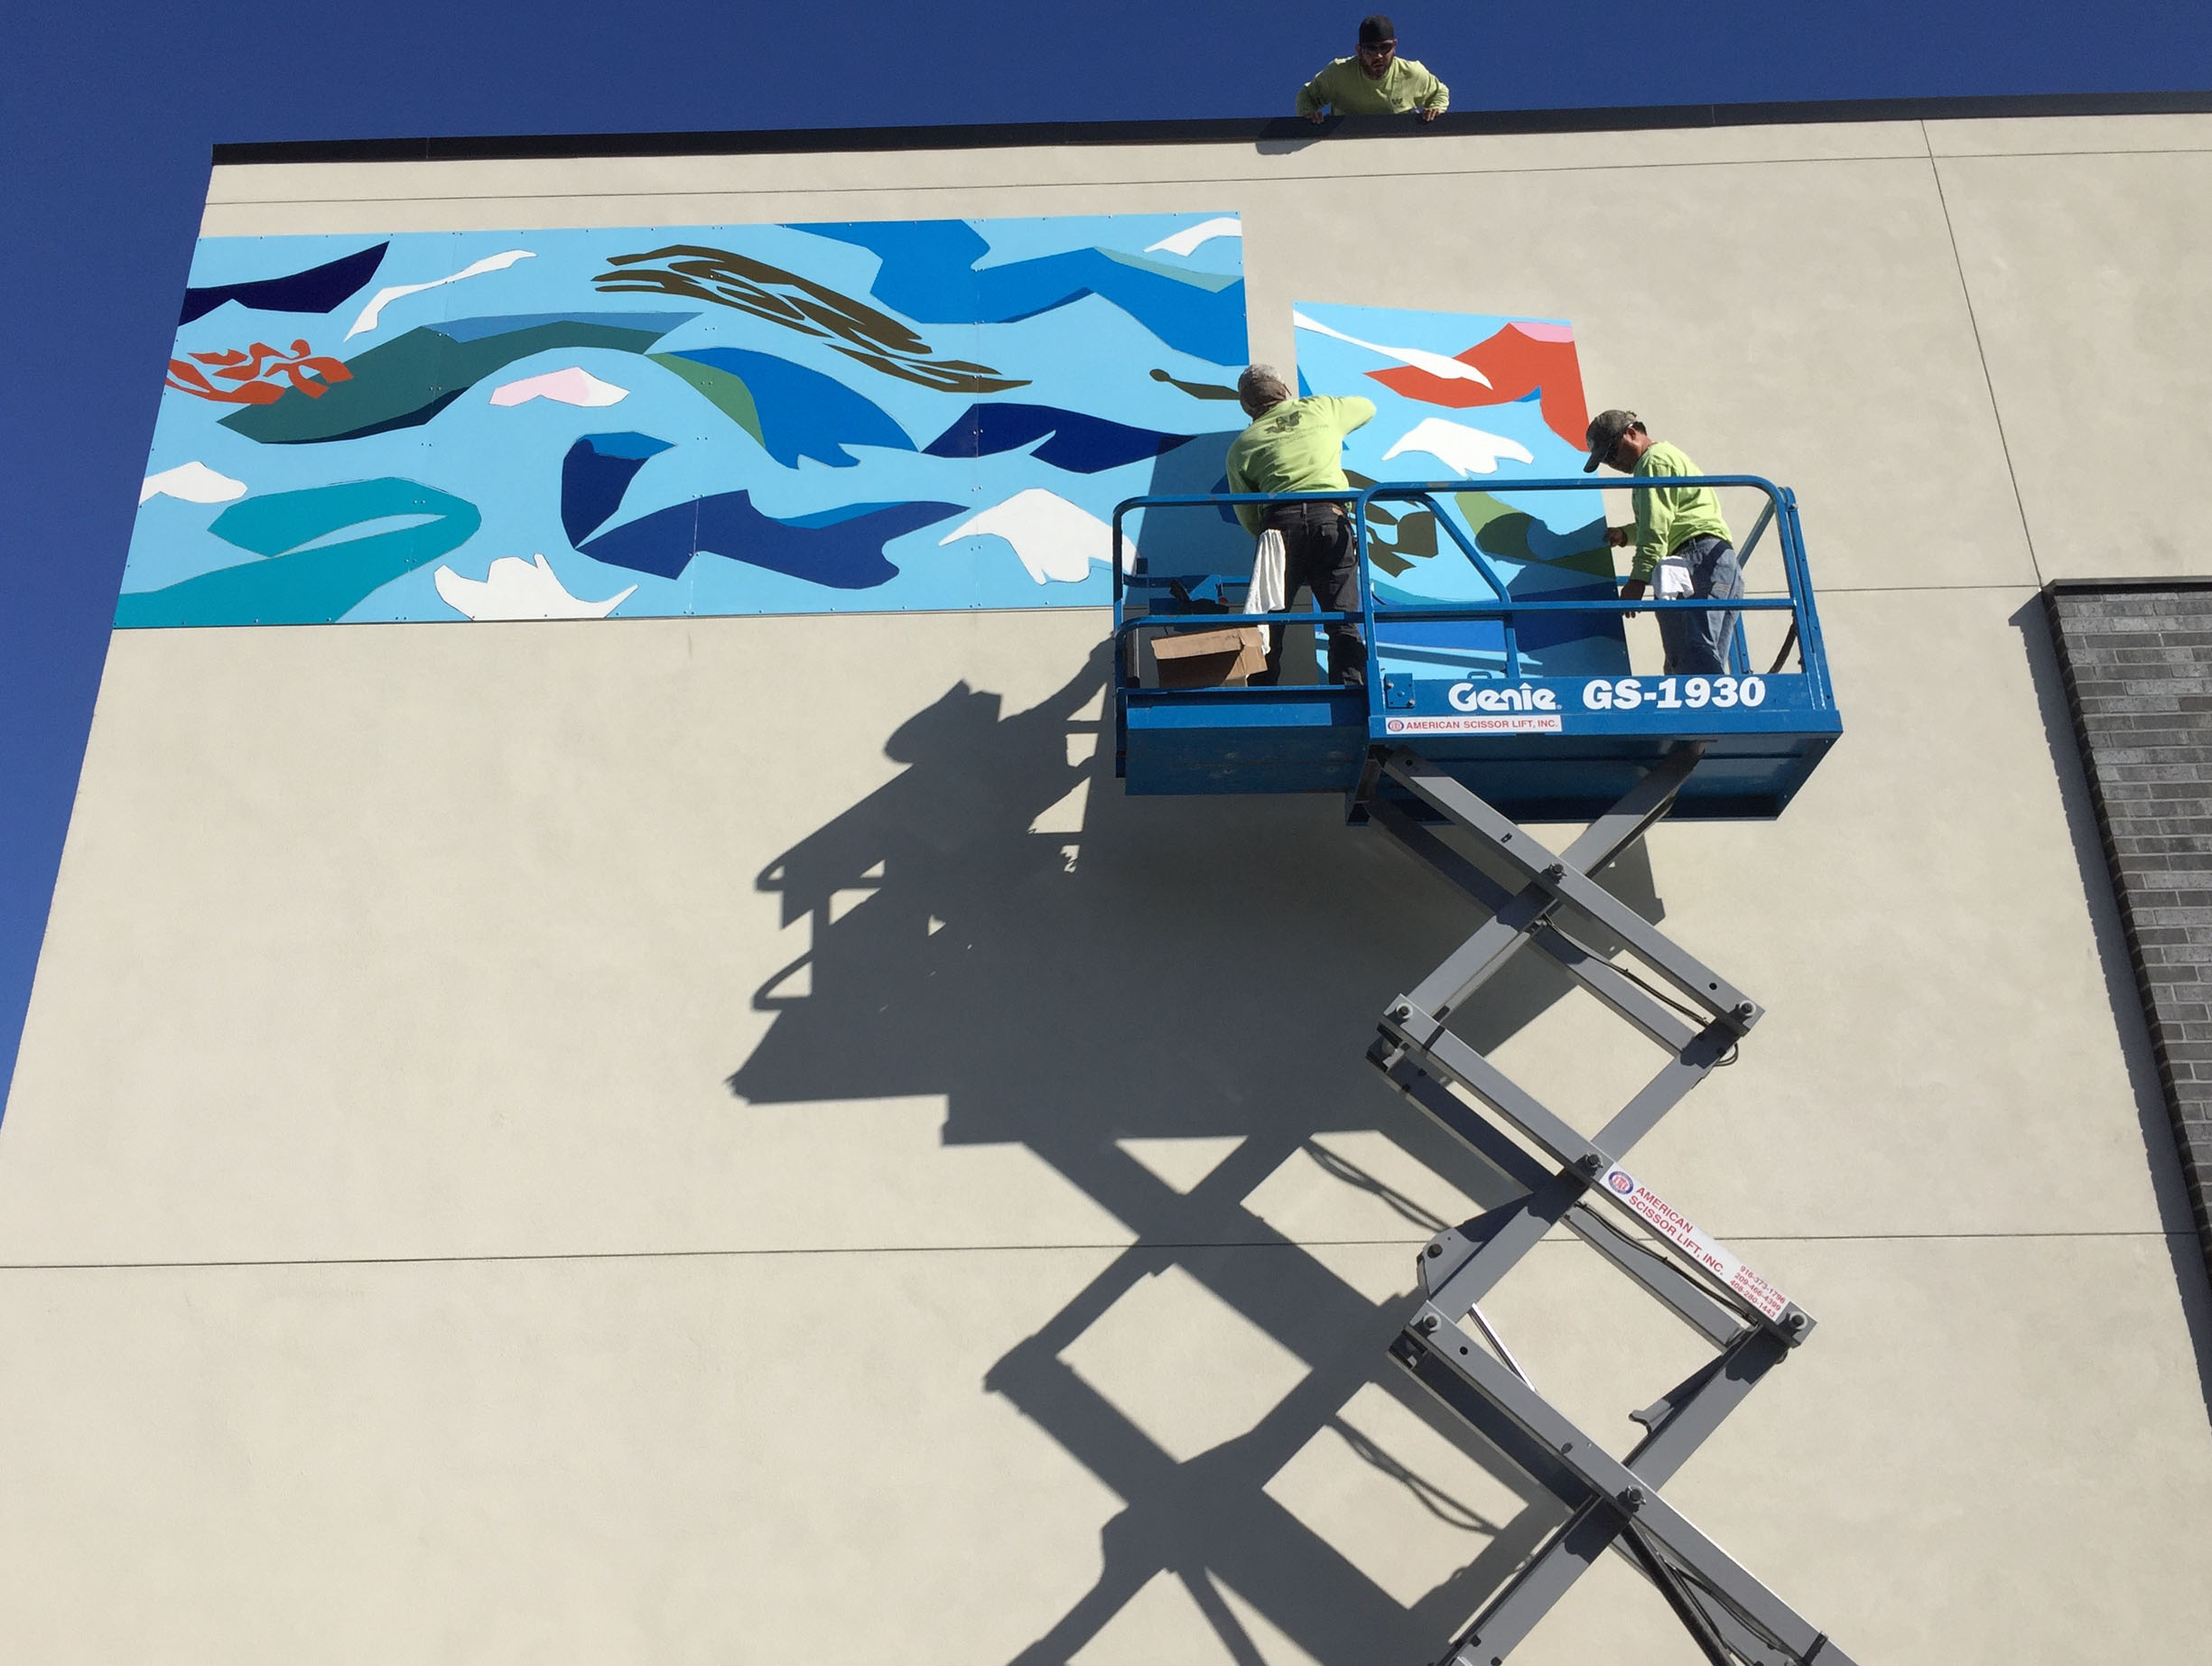
Installing the mural, August 31st, 2017
The crew installed the mural perfectly, and handled the finished panels with great care. Once it was up, I got to see the entire mural for the first time.